Game in 10 minutes
Build Roll-a-Ball — steer a ball with the keyboard, collect pickups, track a score, and publish it.
You're going to build Roll-a-Ball: a ball you steer around with the keyboard, scattered pickups that disappear when you touch them, and a score that counts up. Then you'll publish it and get a shareable link.
It's the classic "first game." No prior experience needed — copy the snippets as you go.
You'll need an account. This tutorial saves your project and publishes it (optional) at the end.
What you'll end up with
- A rolling ball driven by WASD / arrow keys
- A floor with walls so the ball can't fall off
- Pickups that vanish on contact and add to your score
- A live Score readout on screen
- A published URL you can send to anyone
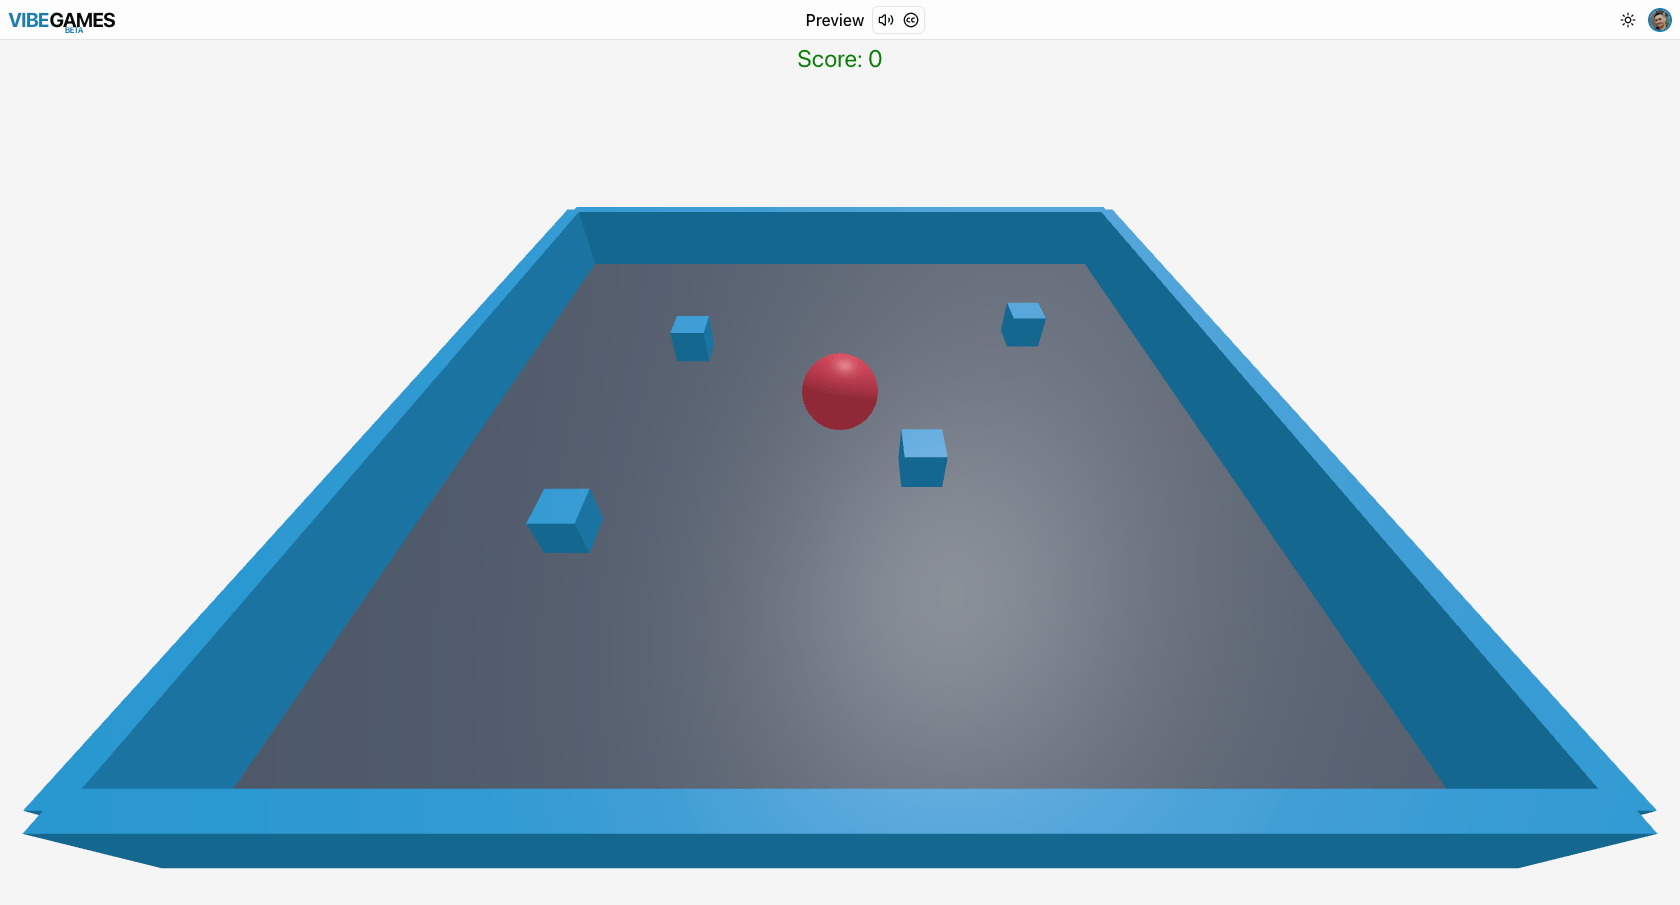
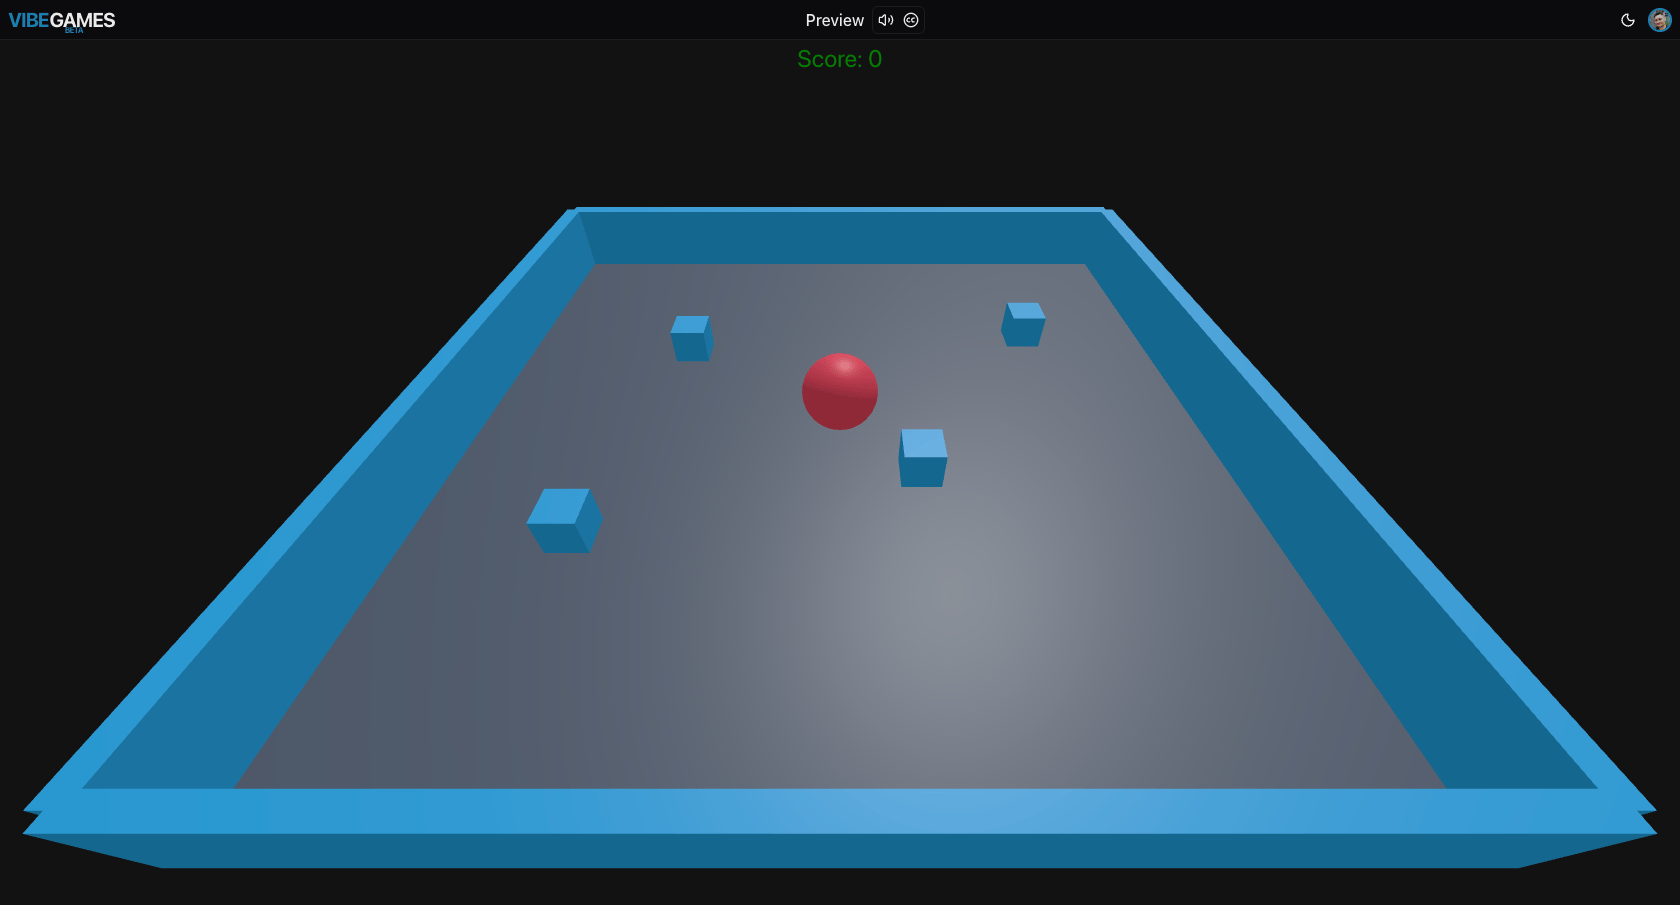
Want to see the finished result first? Play the live example — it runs right in your browser.
Start a new project
Open the editor. If you already have work in the playground you don't want to lose, click File → New Project. In the Create New Project dialog, pick the Starter template, give it any name, and click Create.
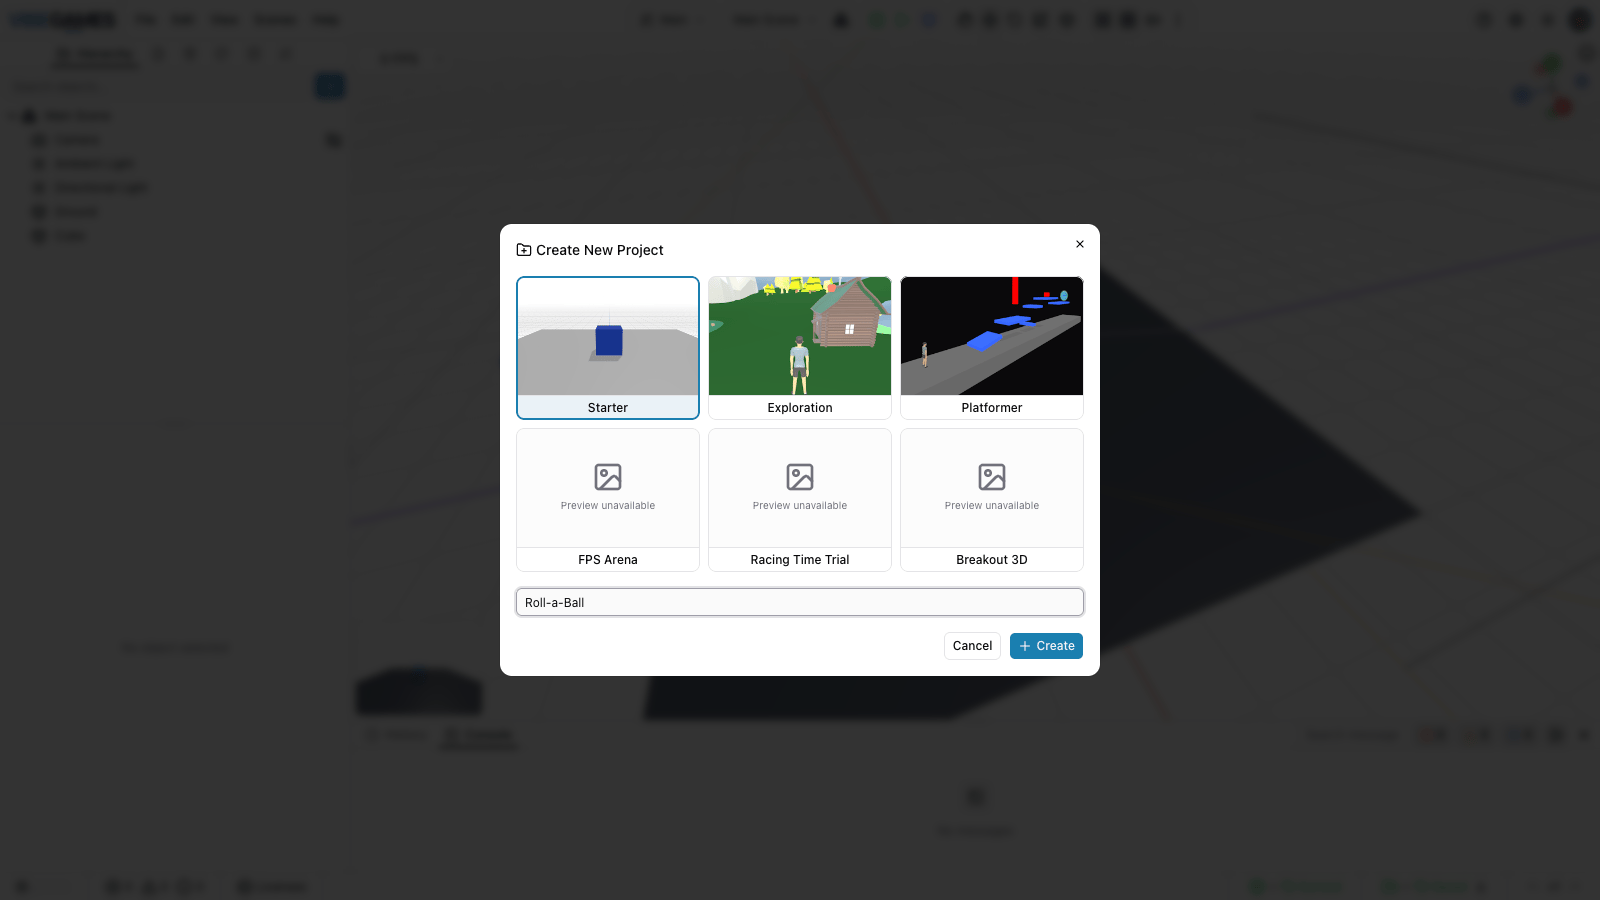
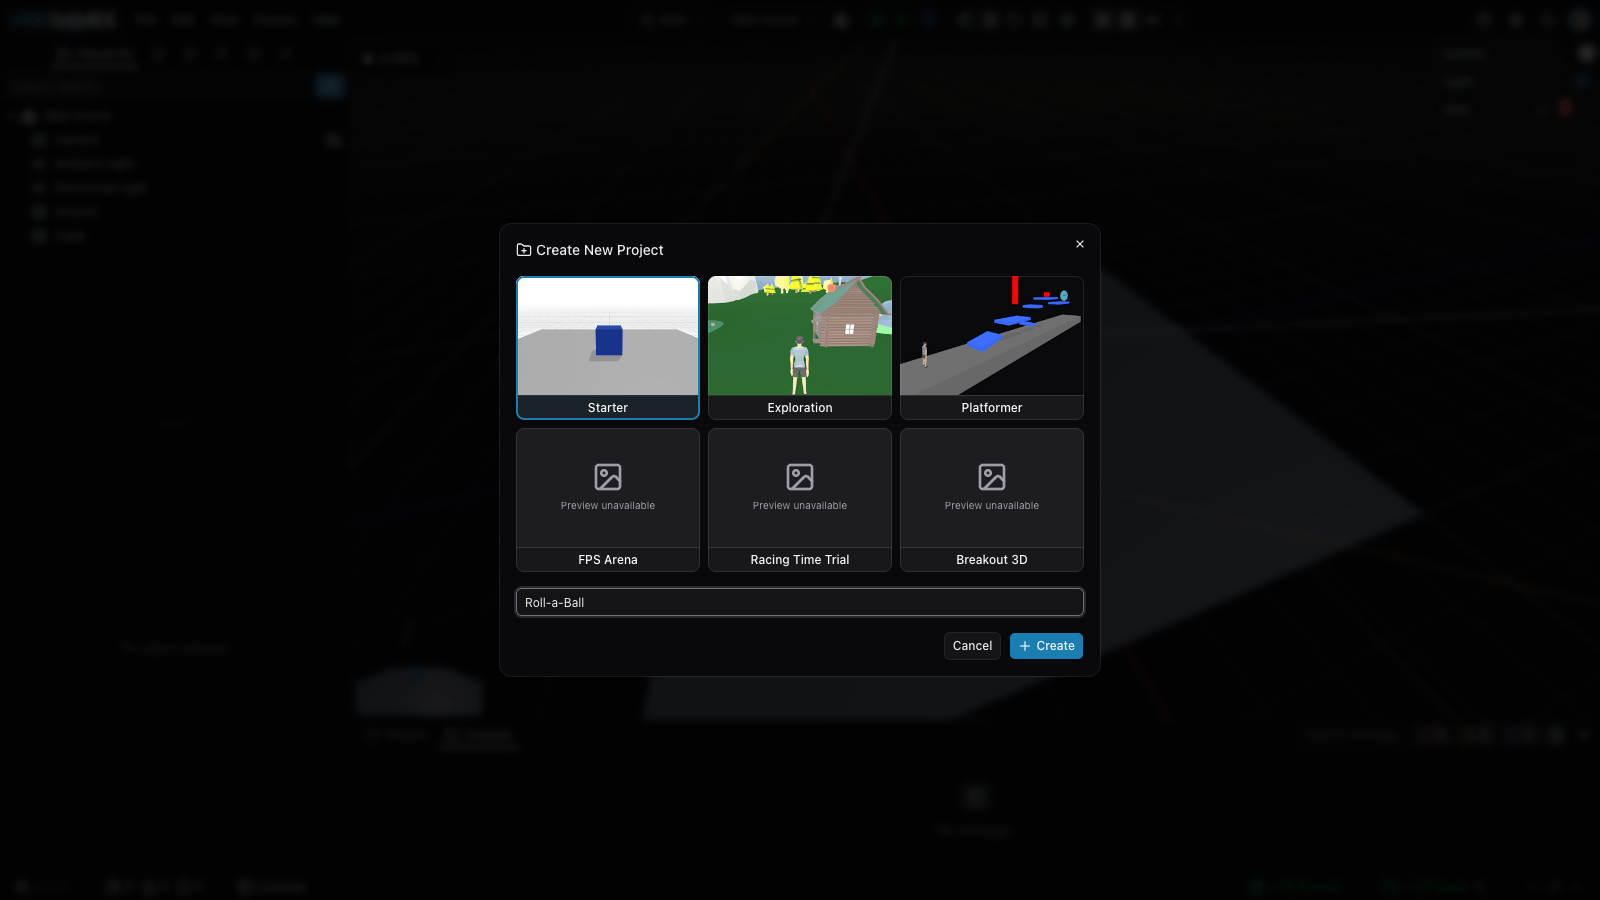
On your very first visit, a short Welcome wizard walks you through picking a template and setting up the editor — same starting point, just guided.
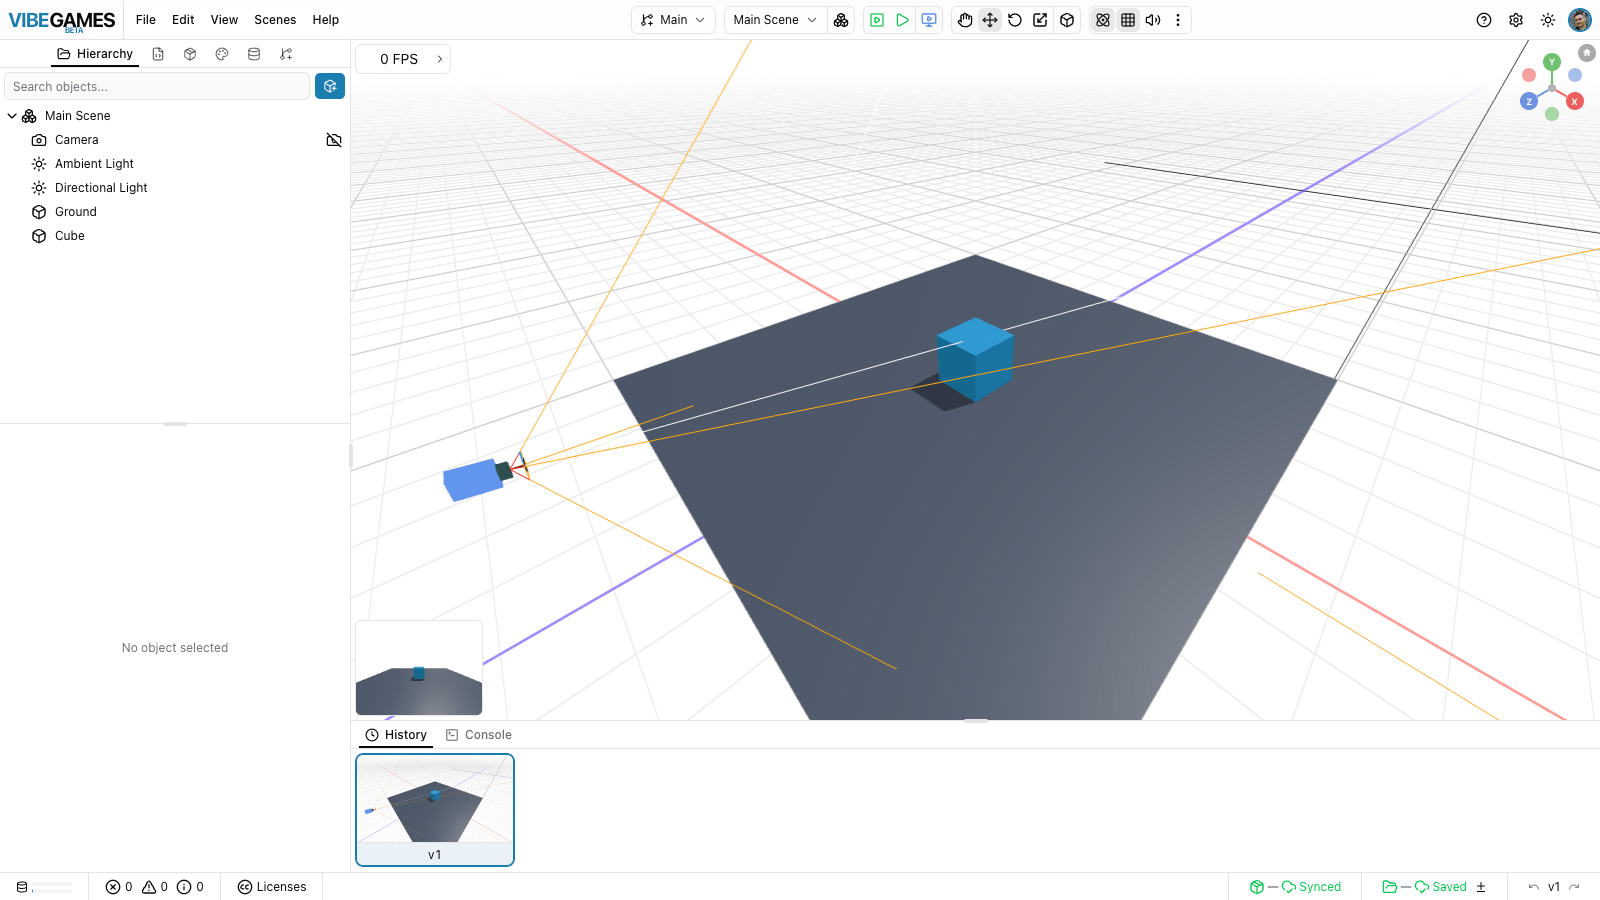
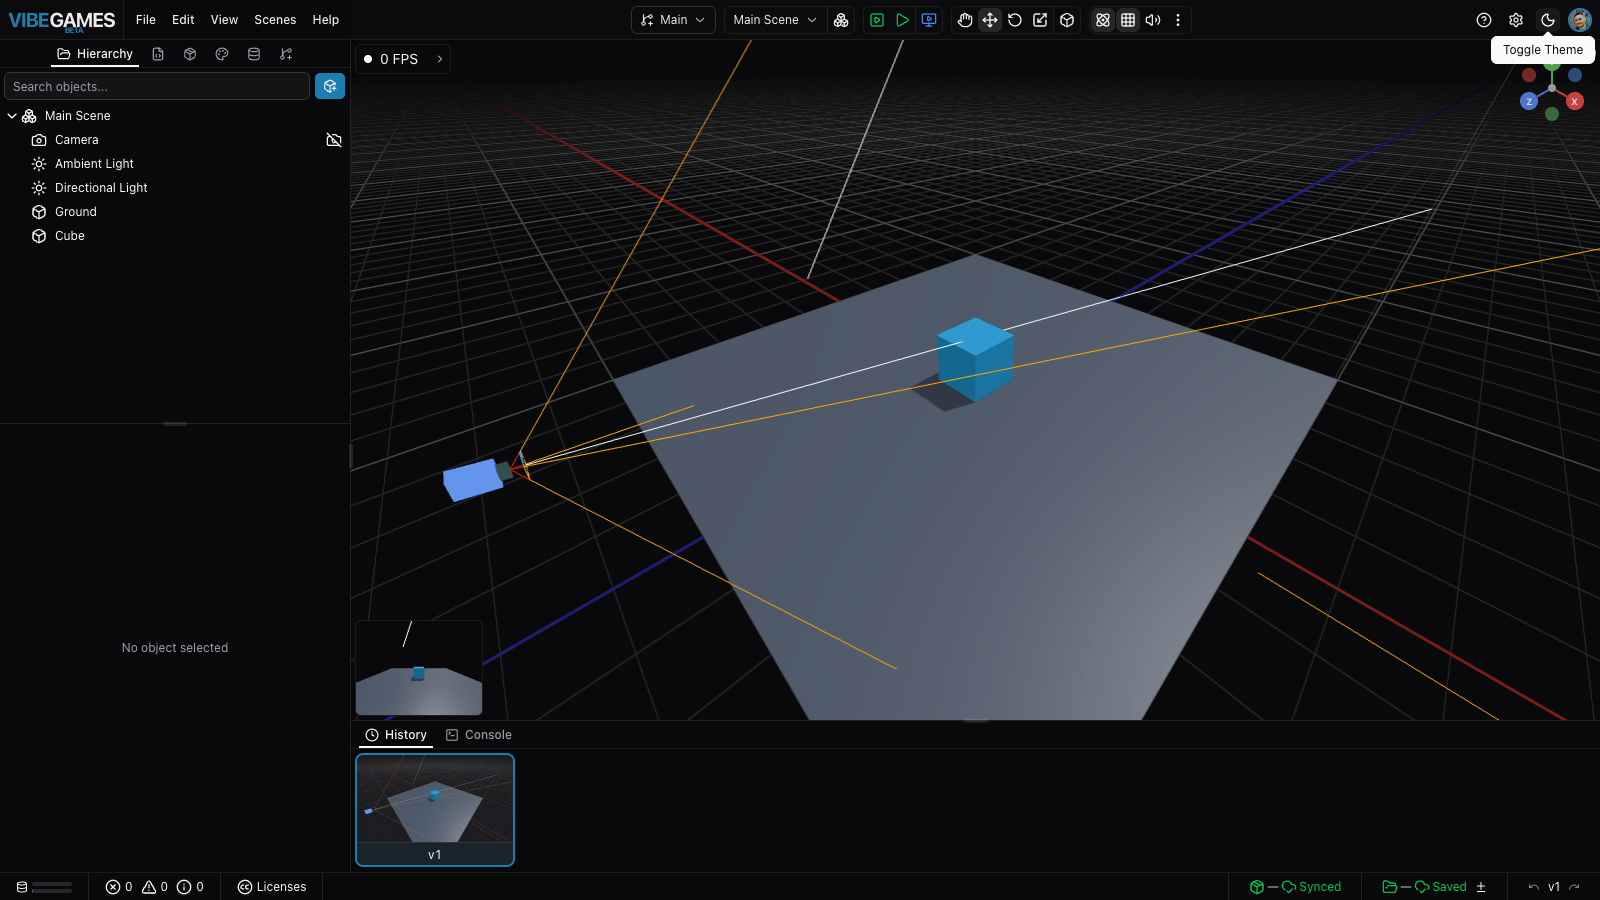
The project opens with a camera, some lights, a gray Ground plane, and a blue Cube in the middle. The panel on the left is the Hierarchy — it lists everything in your scene. When you select an object, its properties appear right below the list.
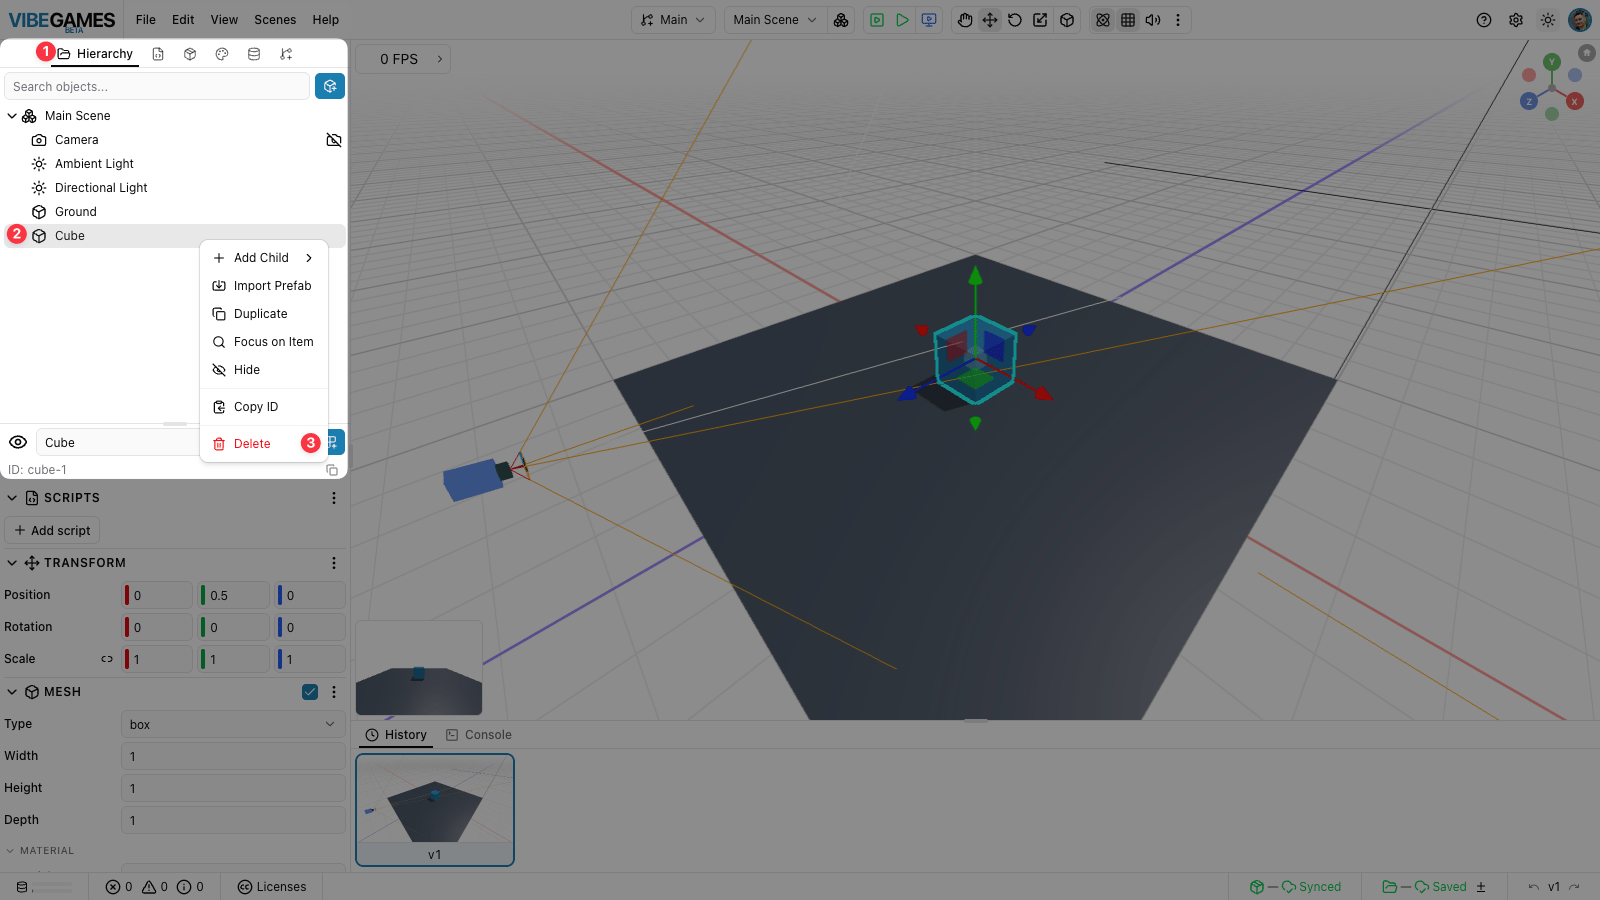
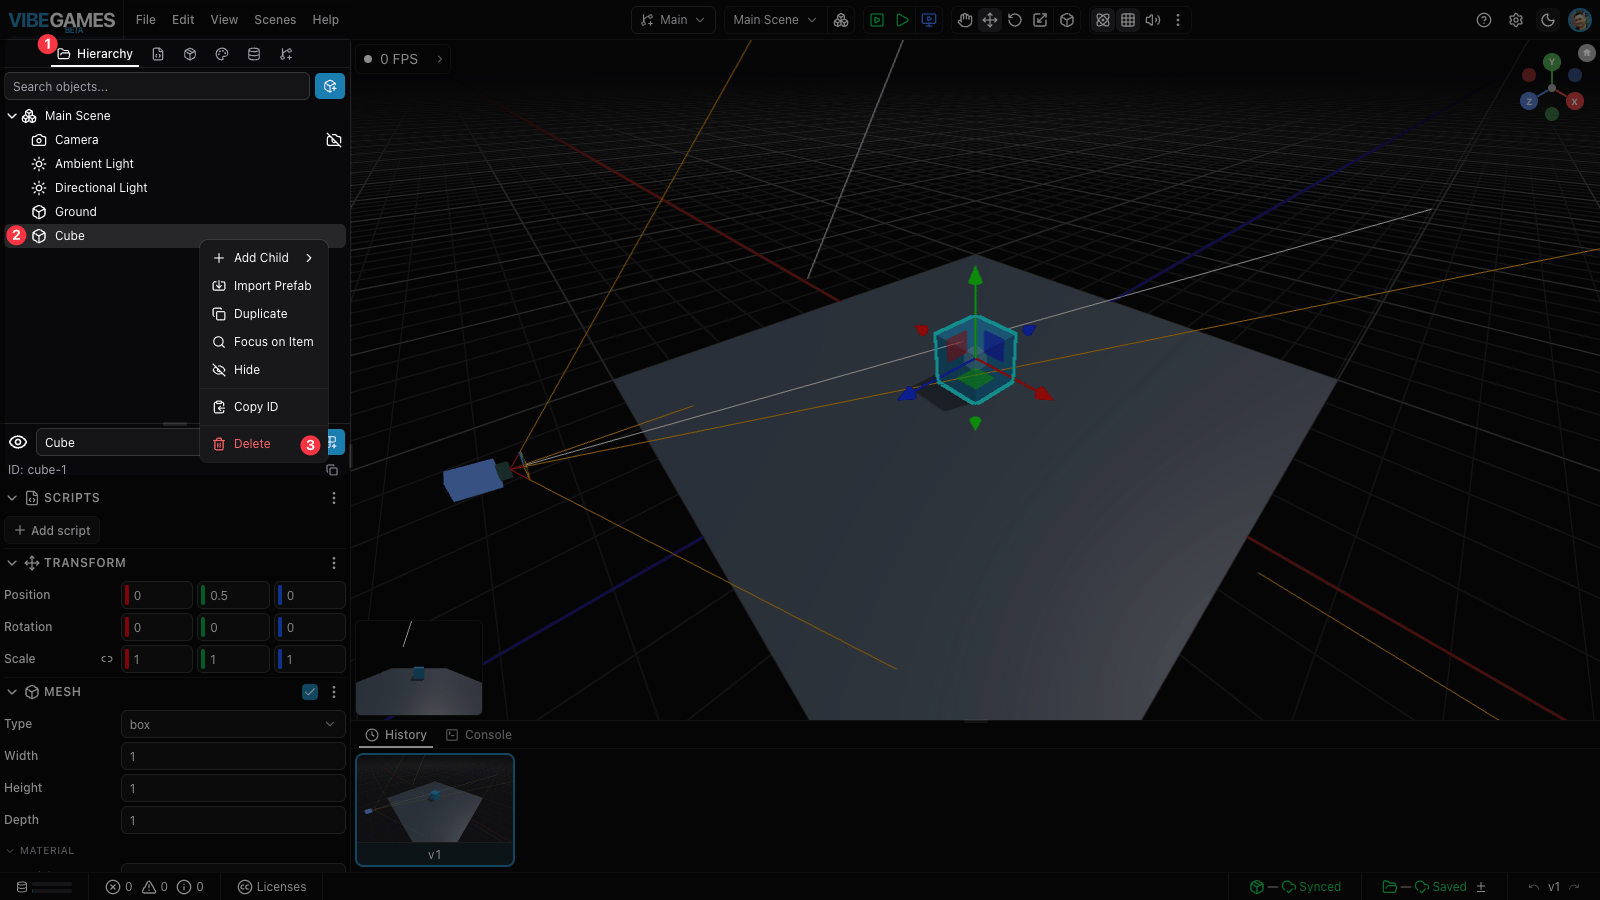
You don't need the cube — right-click it in the Hierarchy and choose Delete. You can also right click on the scene object.
Aim the camera
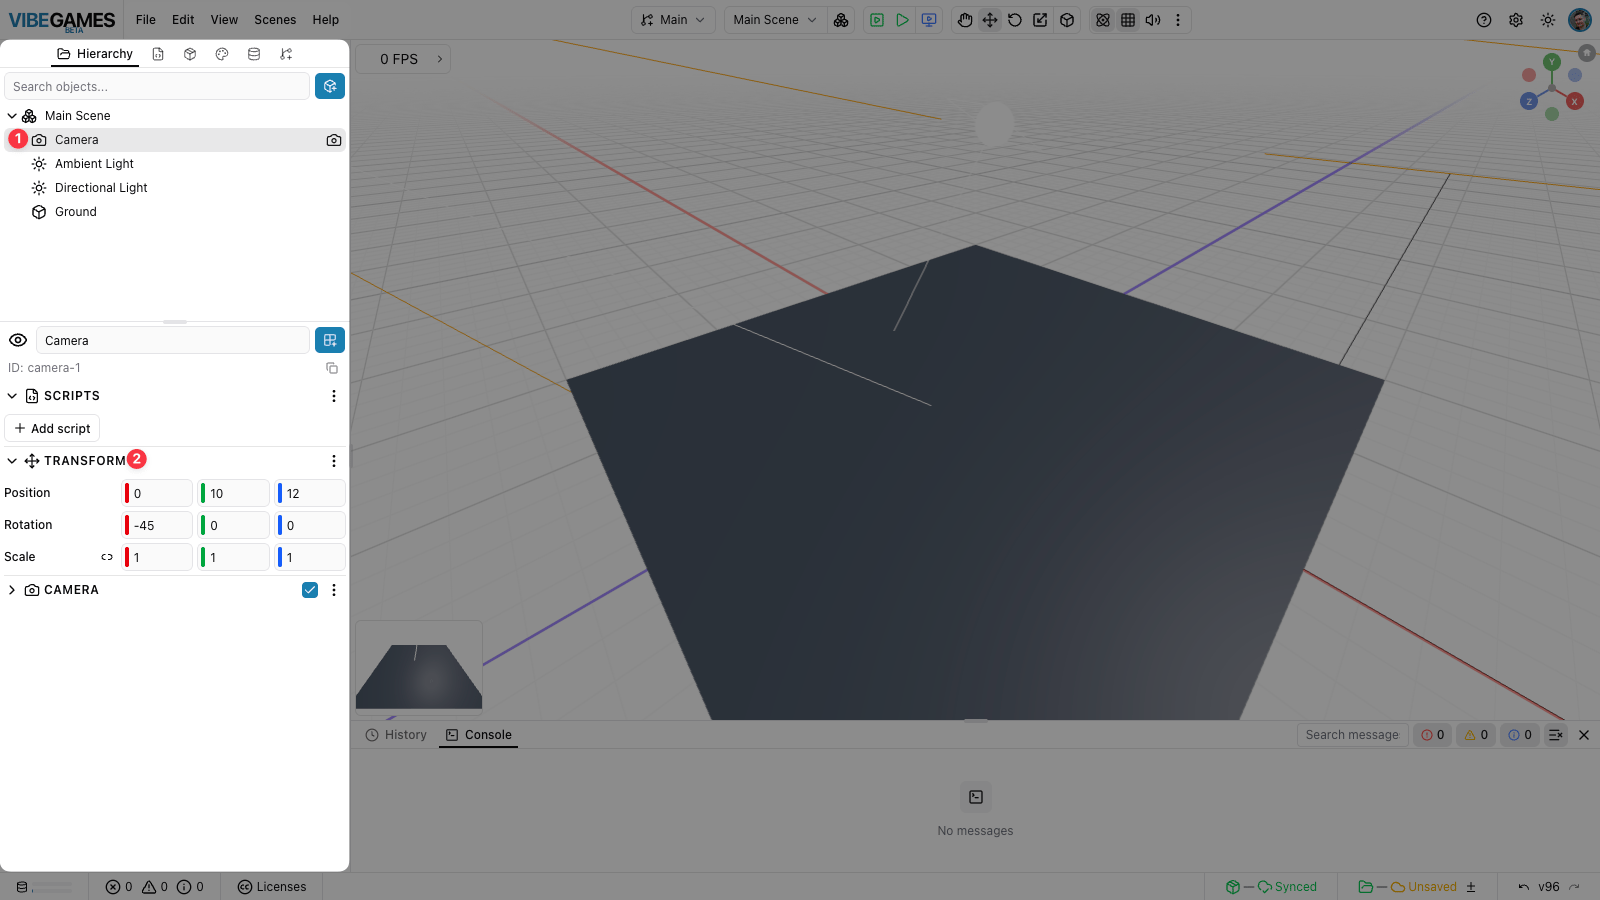
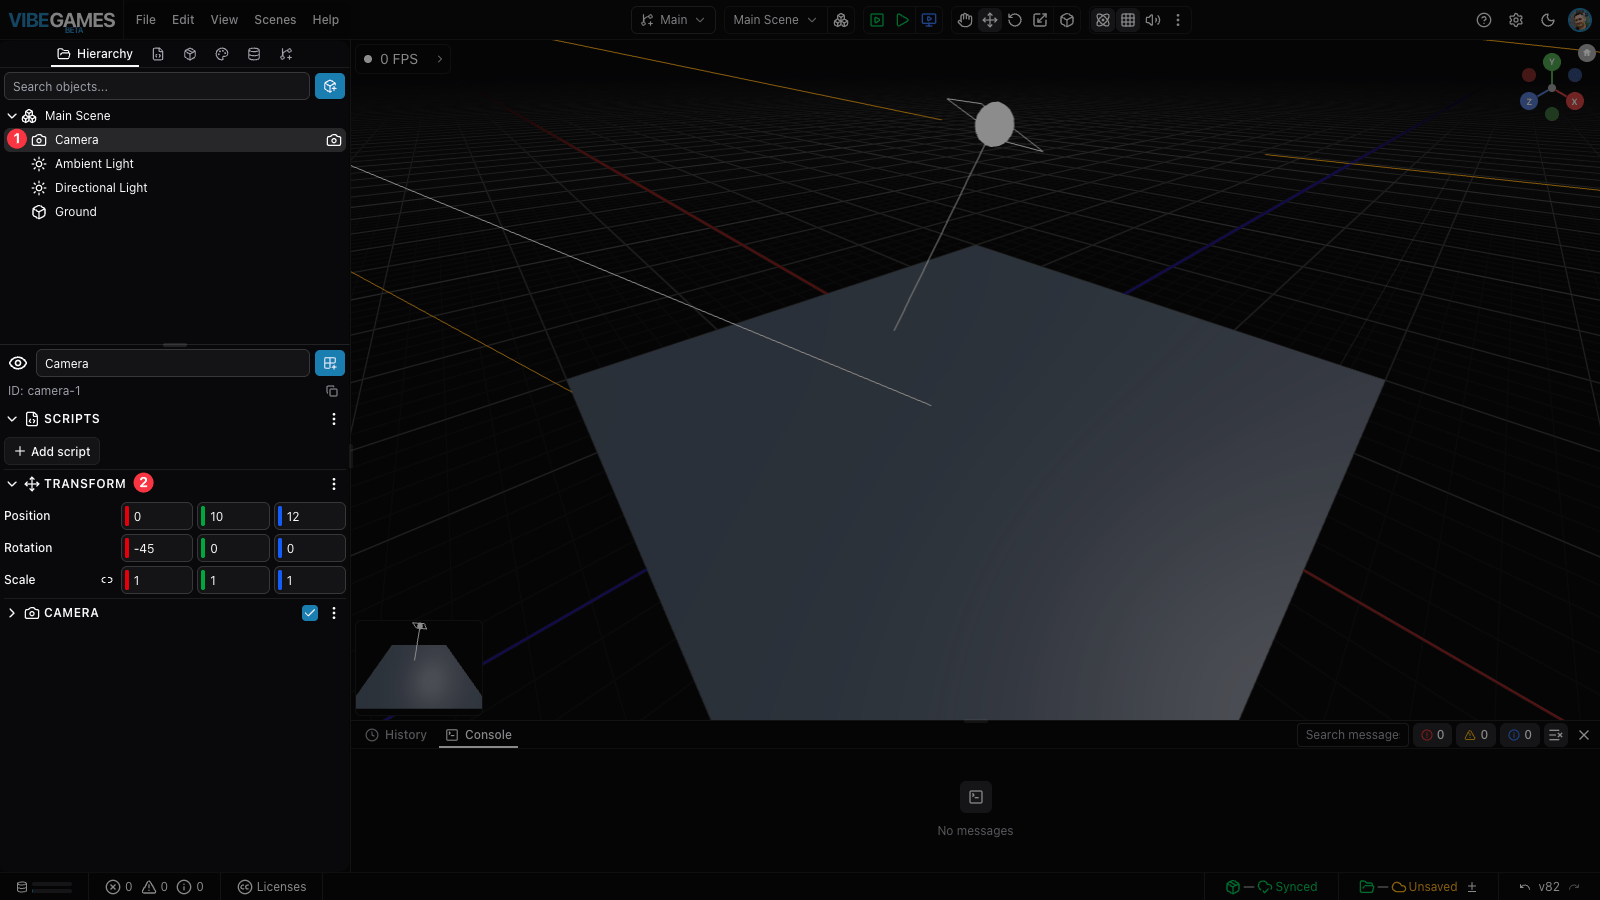
The Starter camera points low — give it a clear, tilted-down view of the whole arena. Select the Camera in the Hierarchy, open its Transform, and set:
- Position →
0, 10, 12 - Rotation →
-45, 0, 0
That looks down at the floor from behind, so you can see the ball roll around.
Add the ball
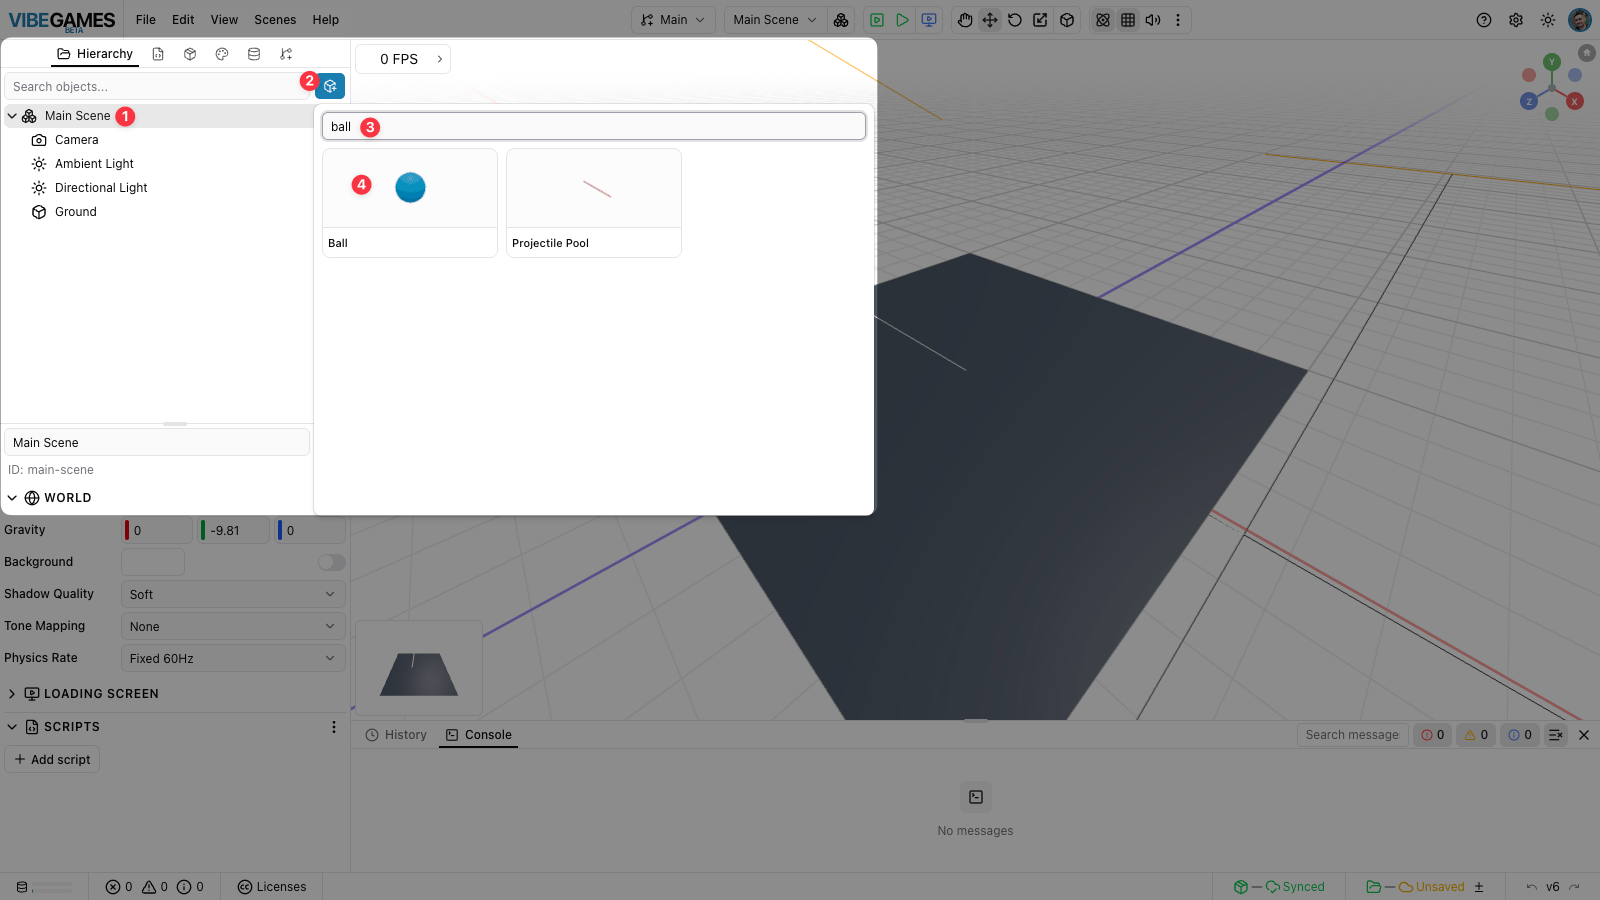
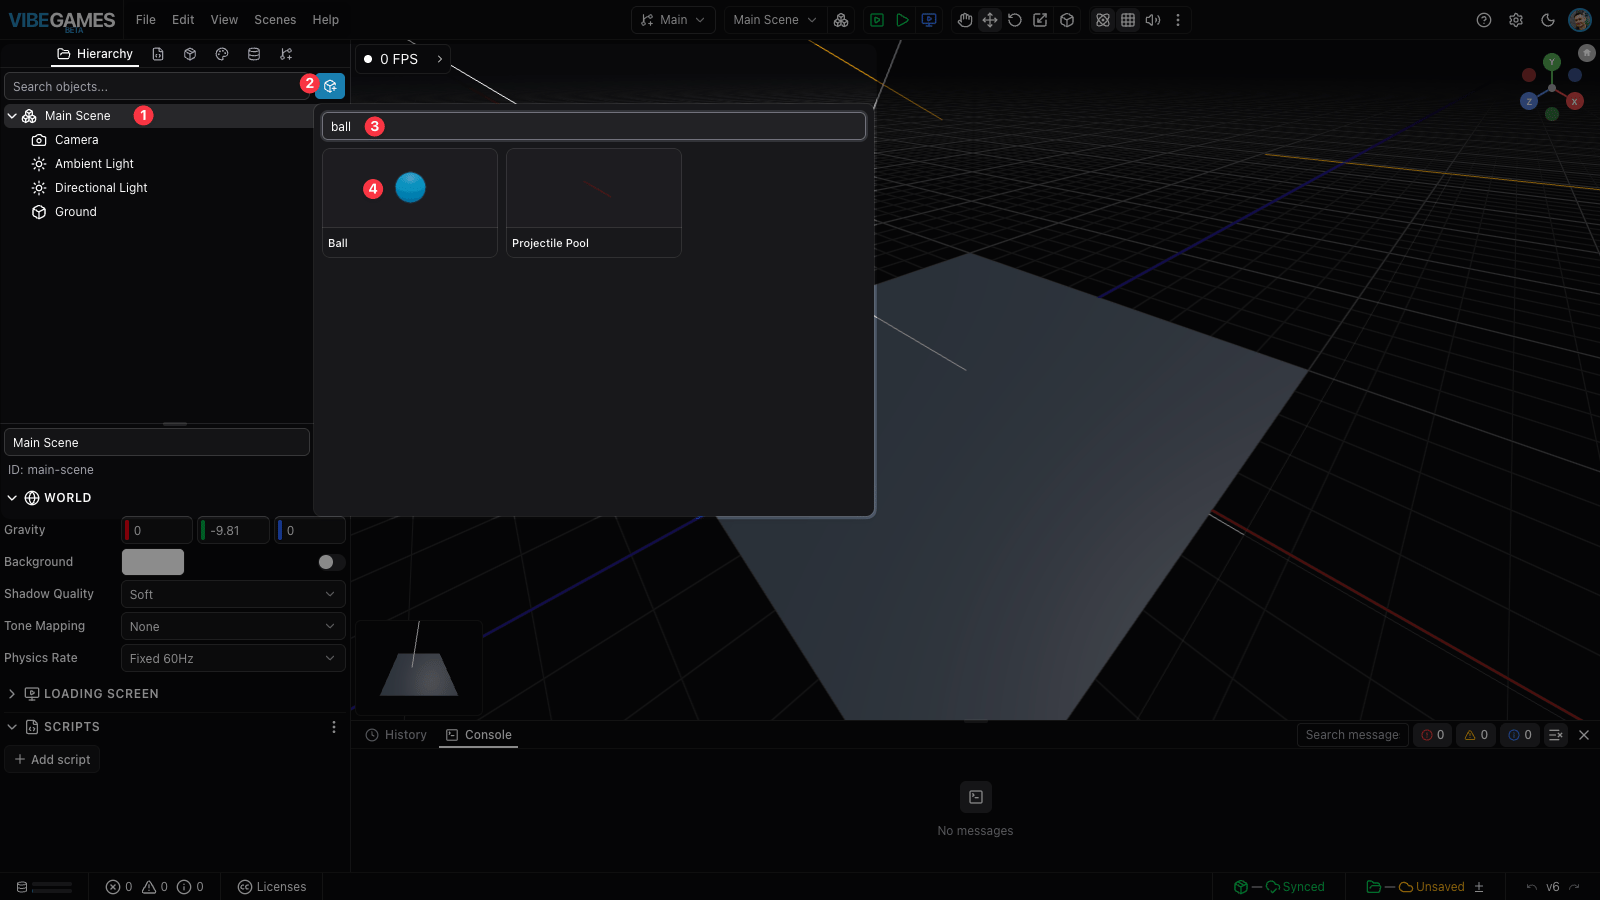
In the Hierarchy, select Main Scene first, then click the + button in the toolbar to open the object palette. New objects are added as a child of whatever's selected, so selecting the scene keeps the ball at the top level. In the palette, open the Shapes tab and pick Ball.
Select the new ball. Its properties appear below the hierarchy:
- Rename it to Player in the name field at the top (this name matters later — the pickup script checks for it).
- Open the Transform section and set Position Y to
1so it starts above the floor.
Make the ball a physics object
Right now the ball just sits there. Give it physics so gravity and forces affect it.
With Player selected, click the Add Component button next to the object name and choose Physics.
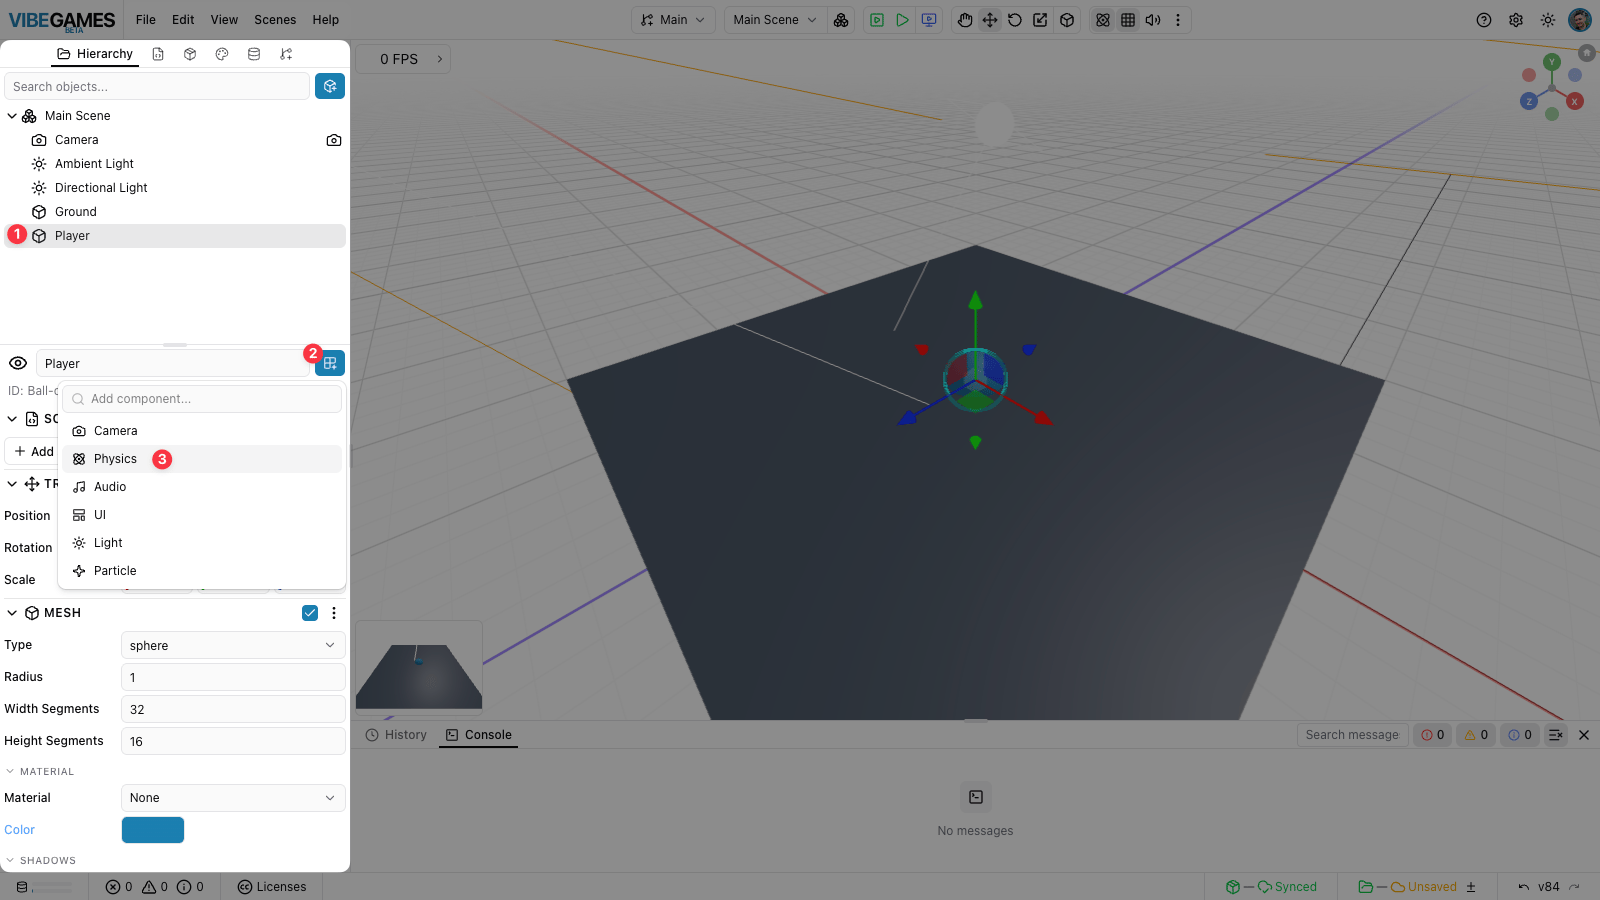
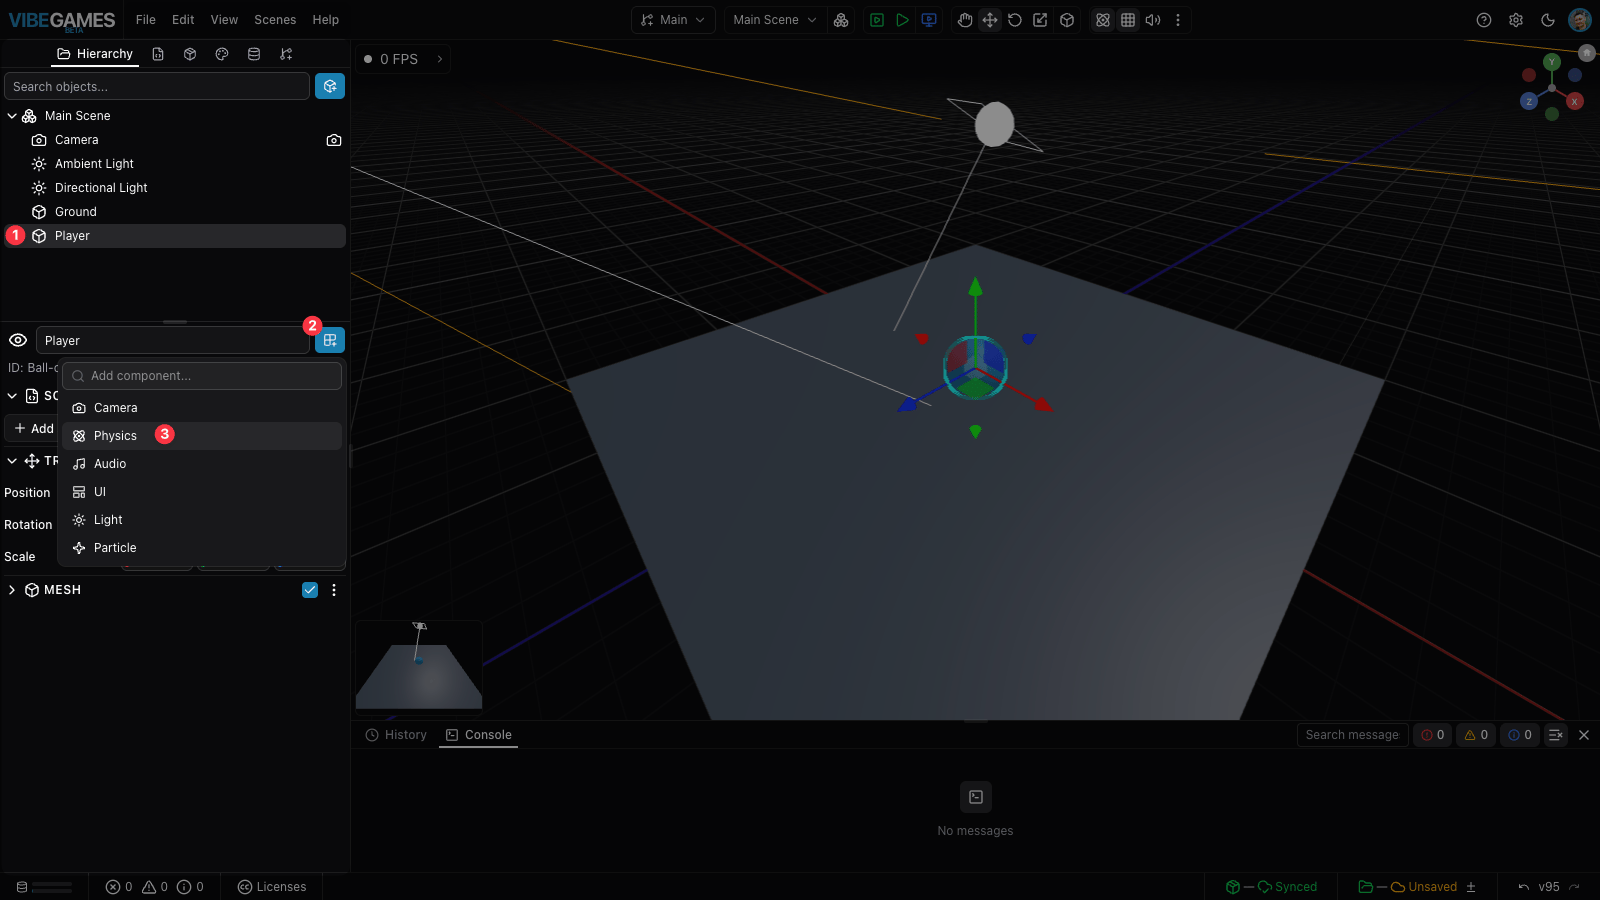
Then set Body Type → dynamic (it's pushed around by gravity and physics), and set Linear Damping to 0.5. Leave the rest at their defaults — the collider is detected from the sphere automatically.
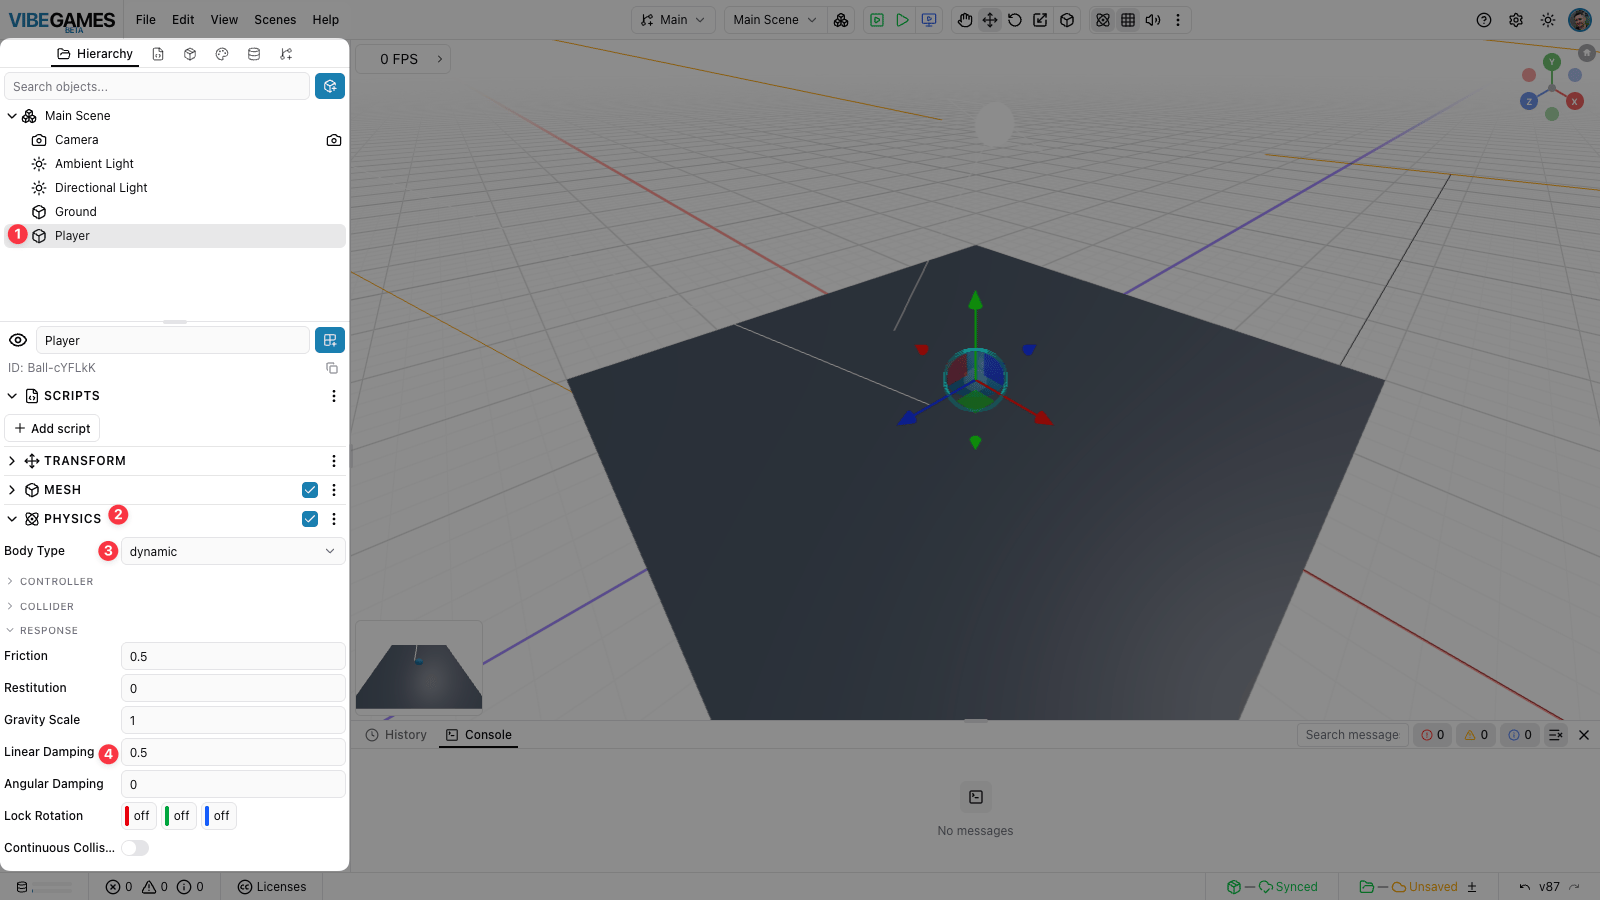
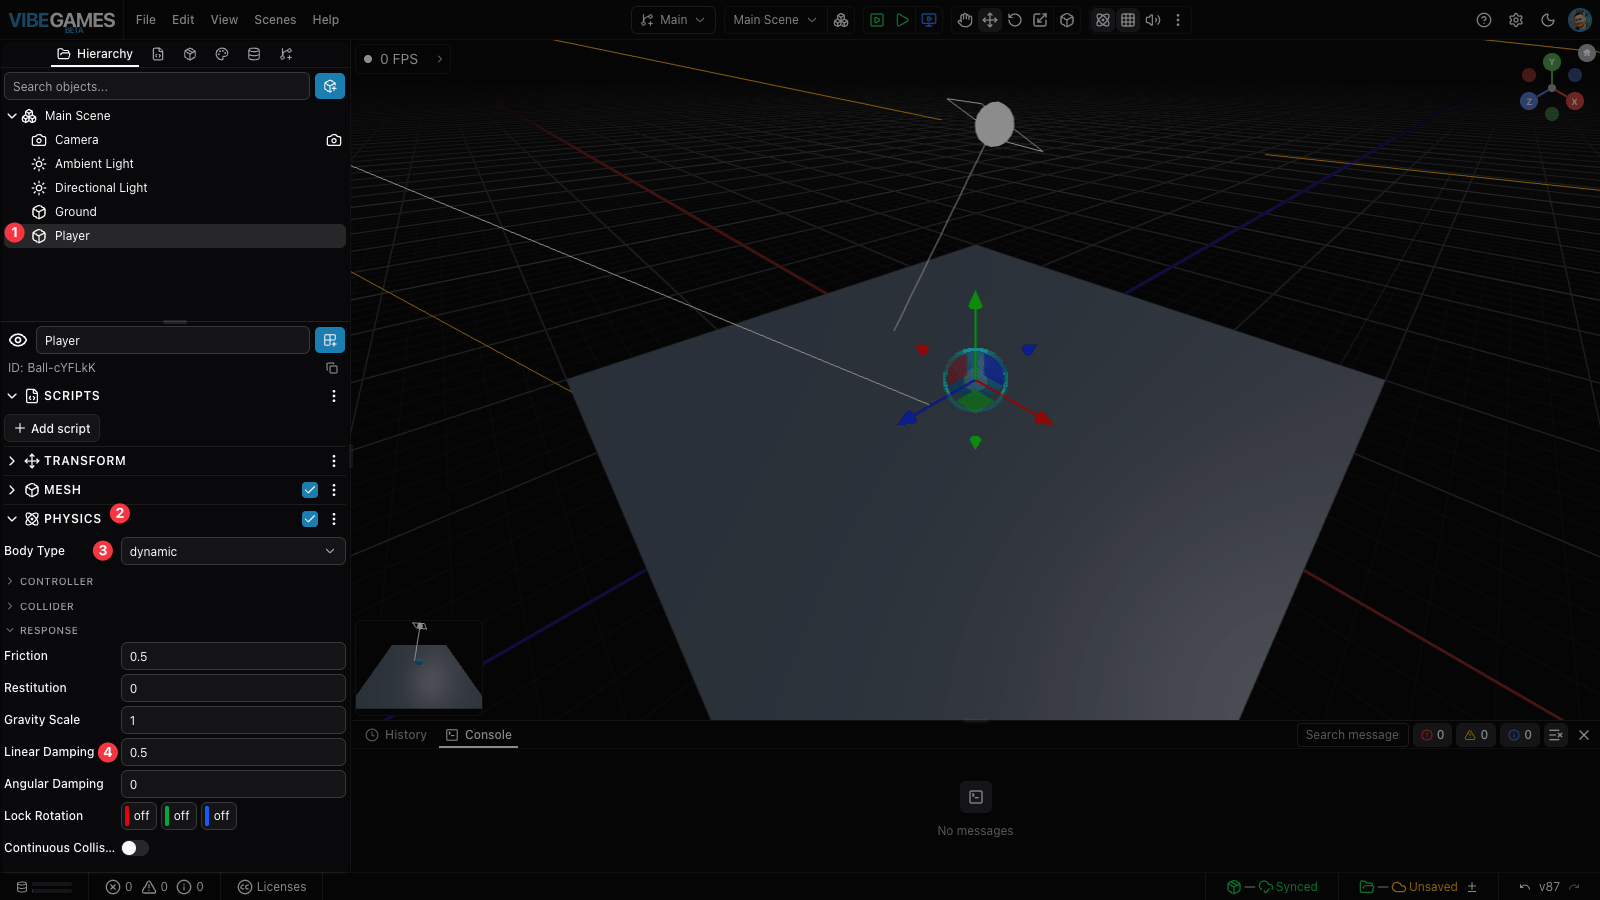
Why damping? It's drag. The movement script sets the ball's speed directly while you steer, so damping only matters after you let go — it's what coasts the ball to a stop. 0 slides forever (ice rink); higher plants sooner.
Body types in one line. fixed never moves (floors, walls). dynamic is simulated — it falls and reacts to forces (your ball). kinematicPosition moves only when a script tells it to (moving platforms).
Give the floor physics too
A dynamic ball will fall straight through the floor unless the floor has a collider.
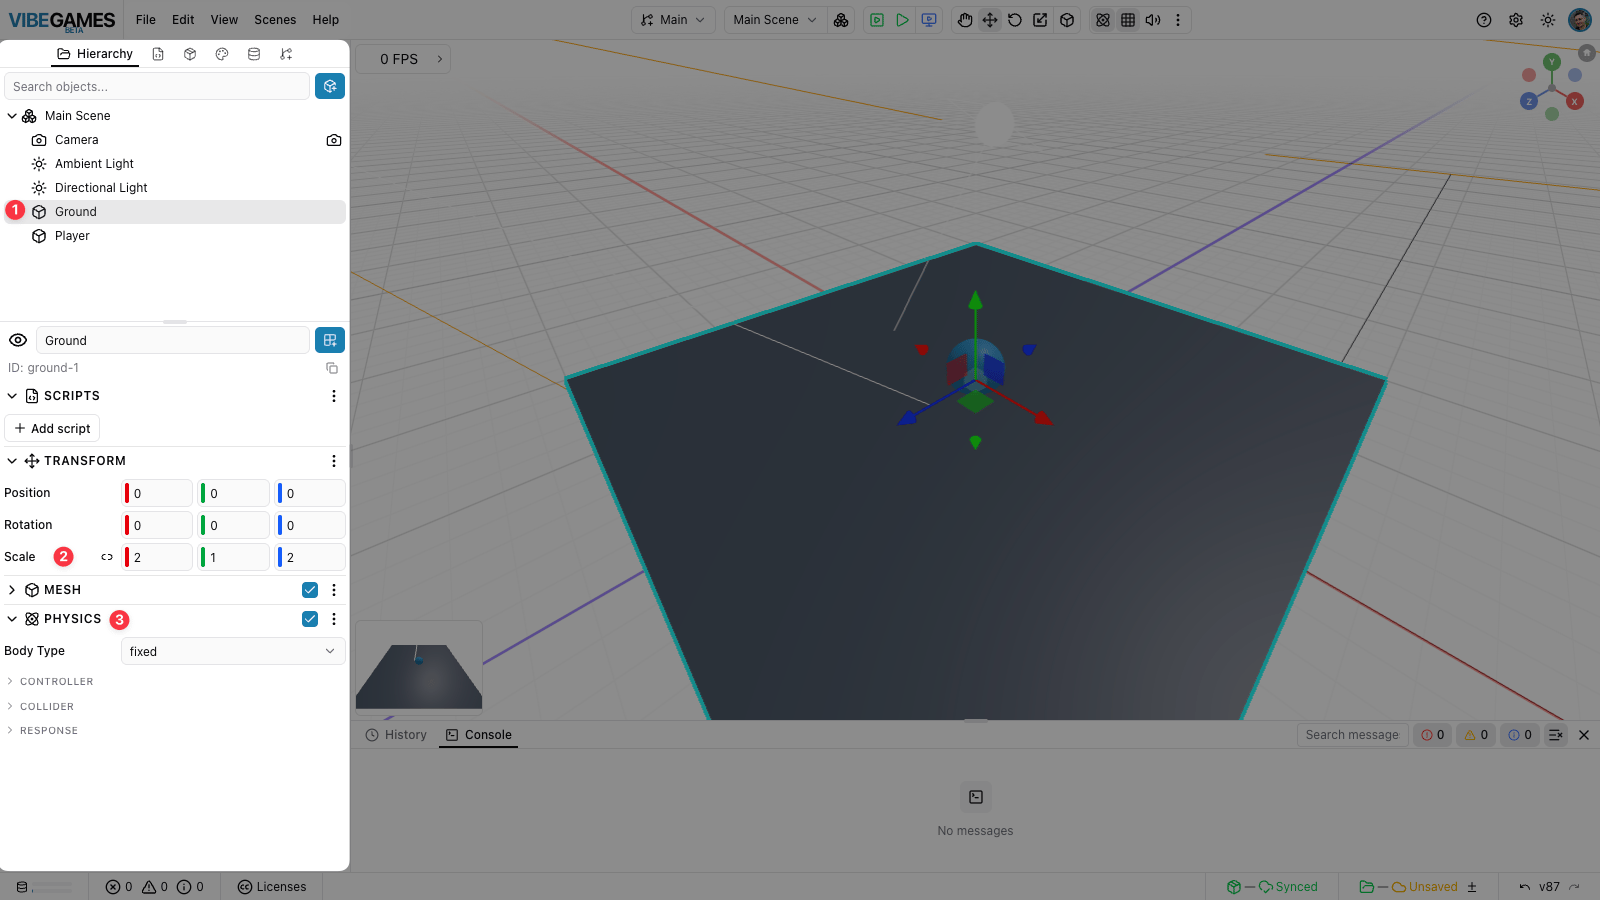
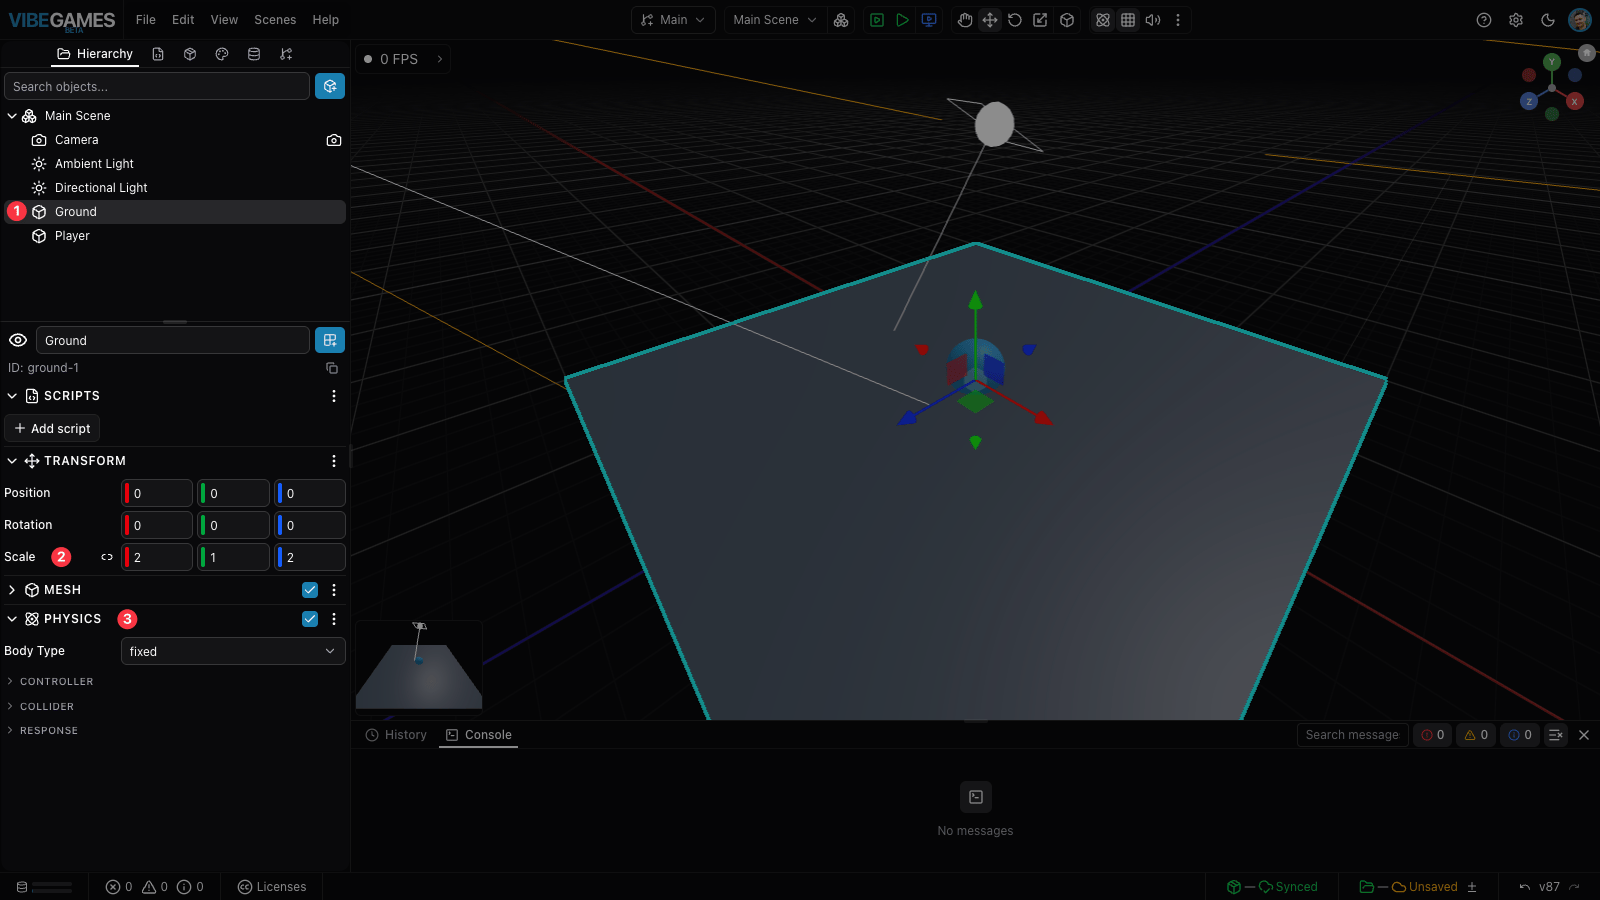
Select Ground, click Add Component → Physics, and leave Body Type as fixed (the default). That's it — the floor is now solid.
The default floor is a cramped 10×10 for a ball this size, so give yourself room: open Transform and set Scale to 2, 1, 2 — a roomy 20×20 arena.
Add walls
So the ball can't roll off the edge, add four thin walls.
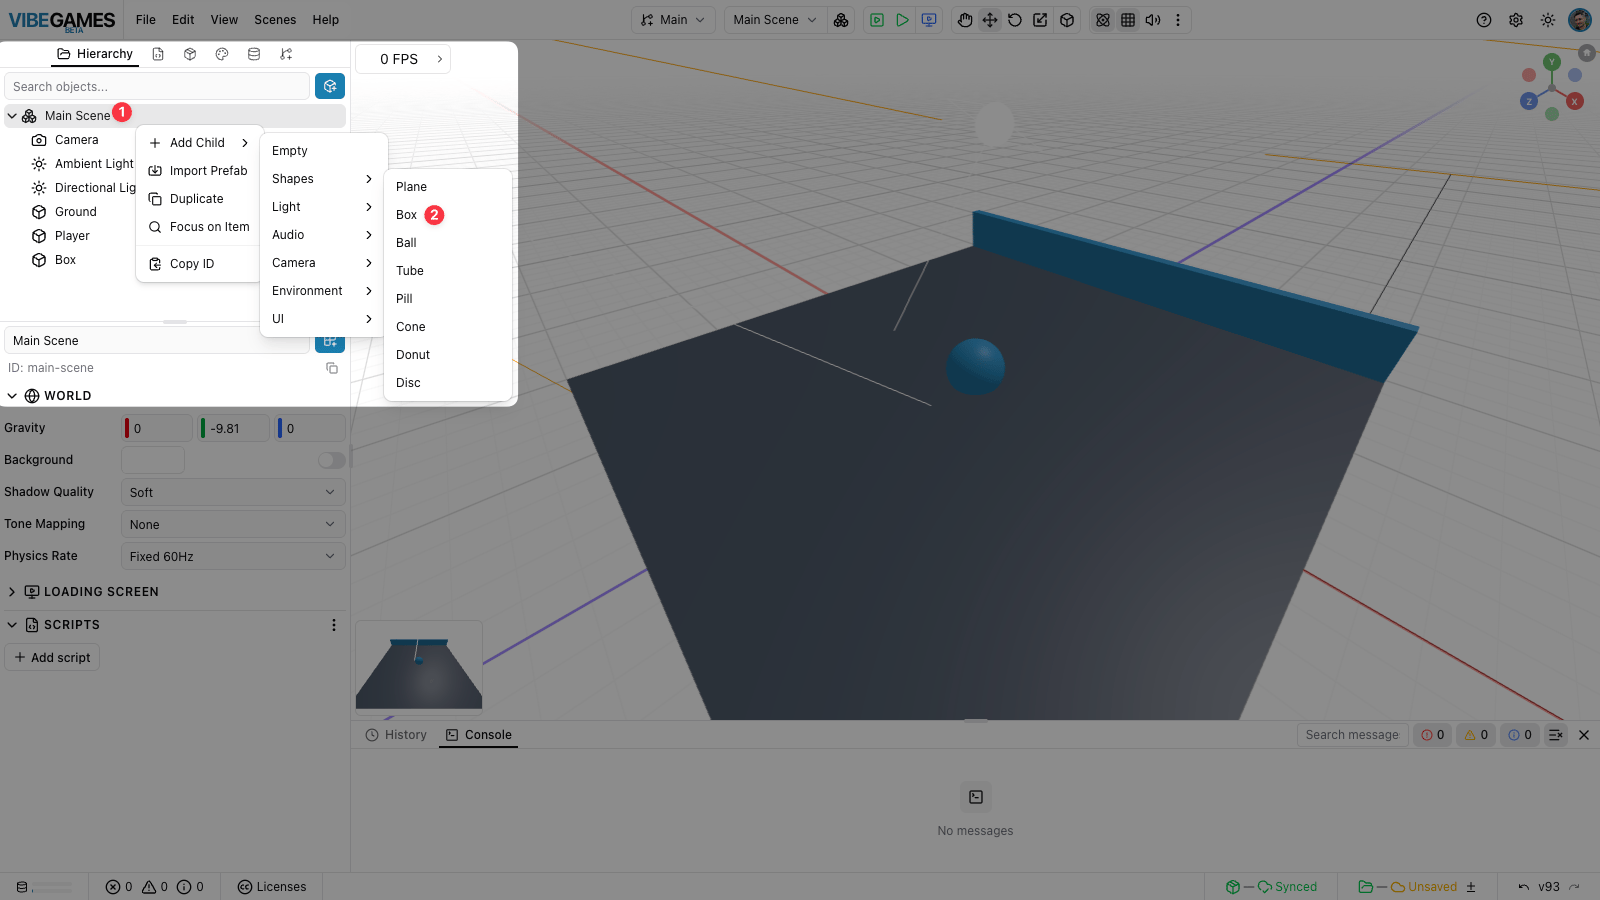
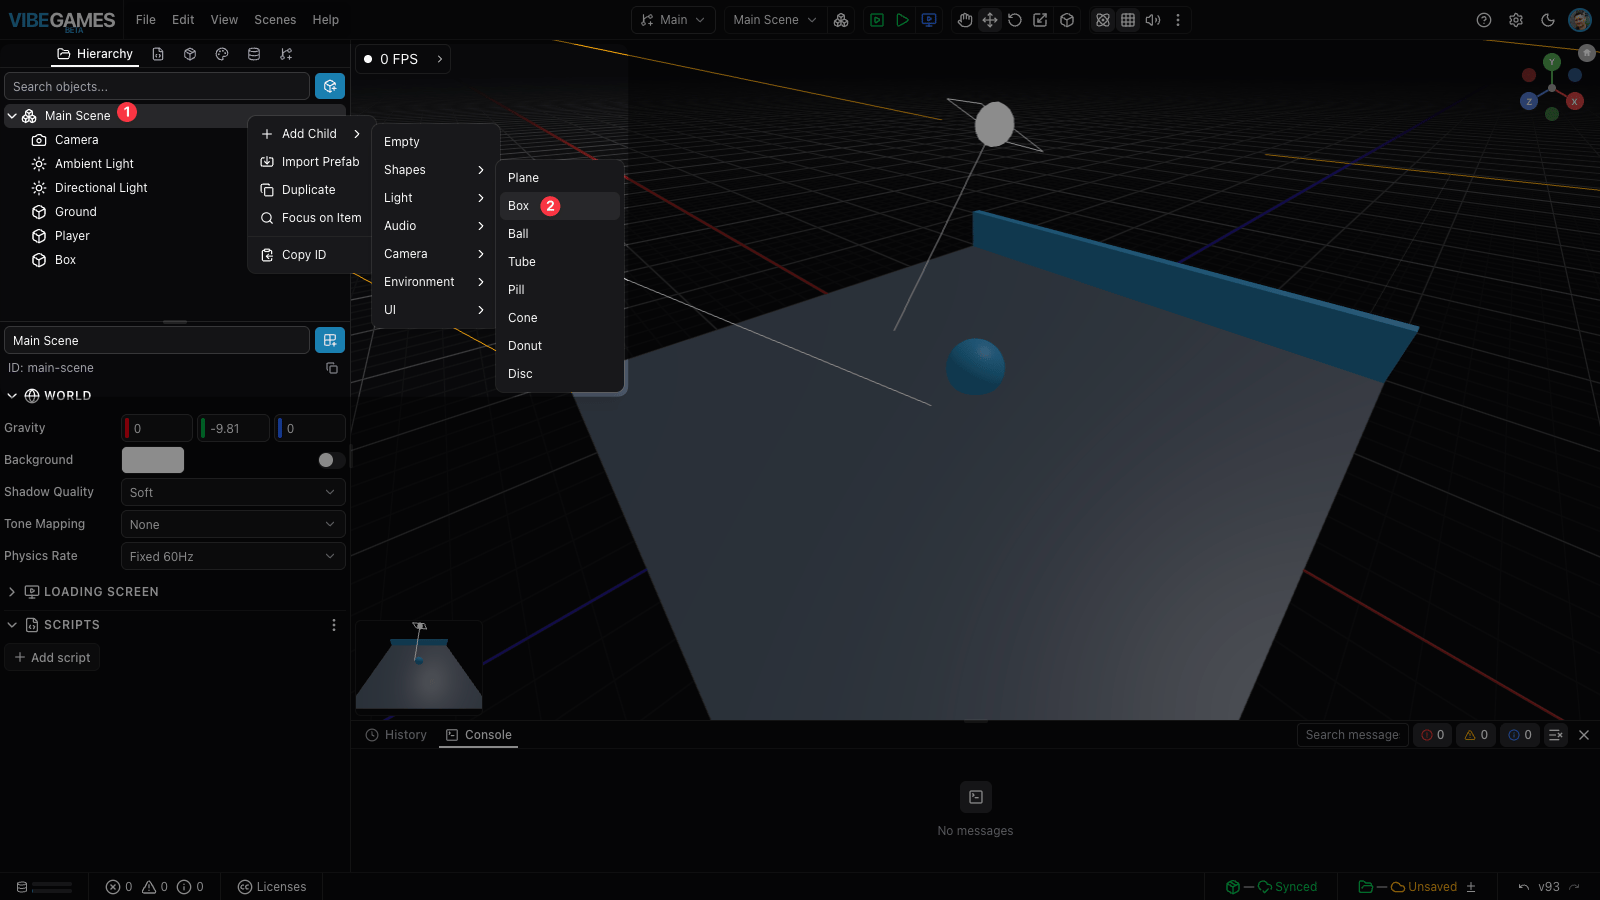
Select Main Scene, open the object palette with the + button, and on the Shapes tab pick Box. Rename it Wall North. Give it a Physics component (Body Type: fixed), then set its Transform to make a long wall. The arena is now 20 units wide (it spans -10 to +10), and the walls are 2 tall so the ball can't climb over them:
| Wall | Position (X, Y, Z) | Scale (X, Y, Z) |
|---|---|---|
| North | 0, 1, -10 | 20, 2, 0.5 |
| South | 0, 1, 10 | 20, 2, 0.5 |
| East | 10, 1, 0 | 0.5, 2, 20 |
| West | -10, 1, 0 | 0.5, 2, 20 |
Each scale axis has its own field, so just type X, Y, and Z. (Click the link icon next to them if you ever want all three to move together for uniform scaling.) Build one wall, then duplicate it (right-click → Duplicate) and tweak the position/scale for the other three — the copies keep their Physics component.
Make it roll
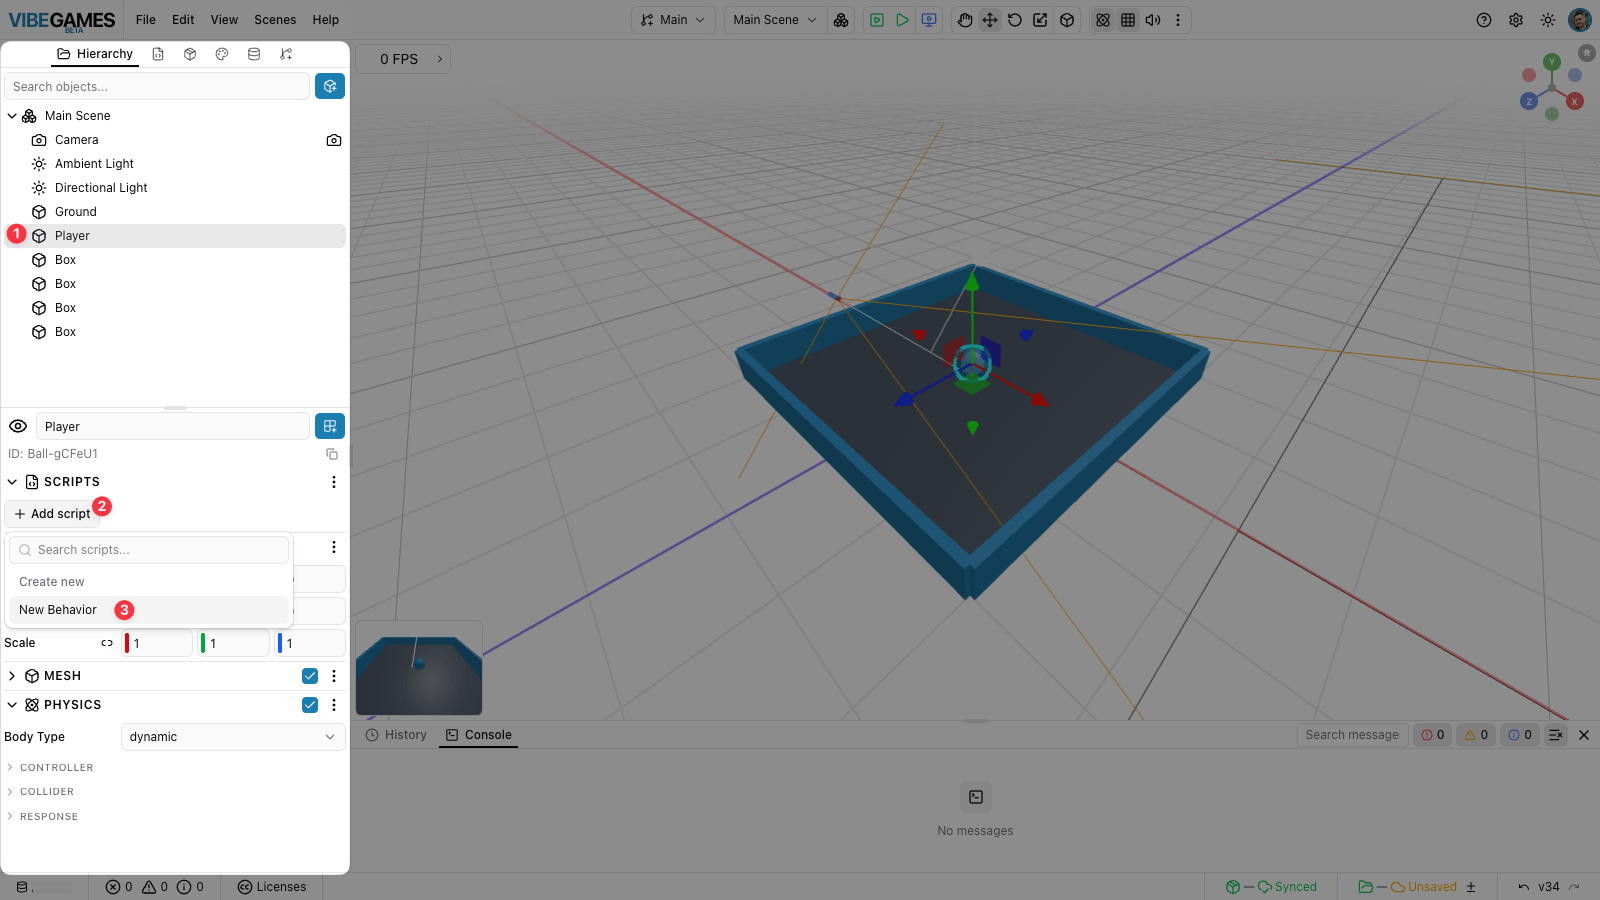
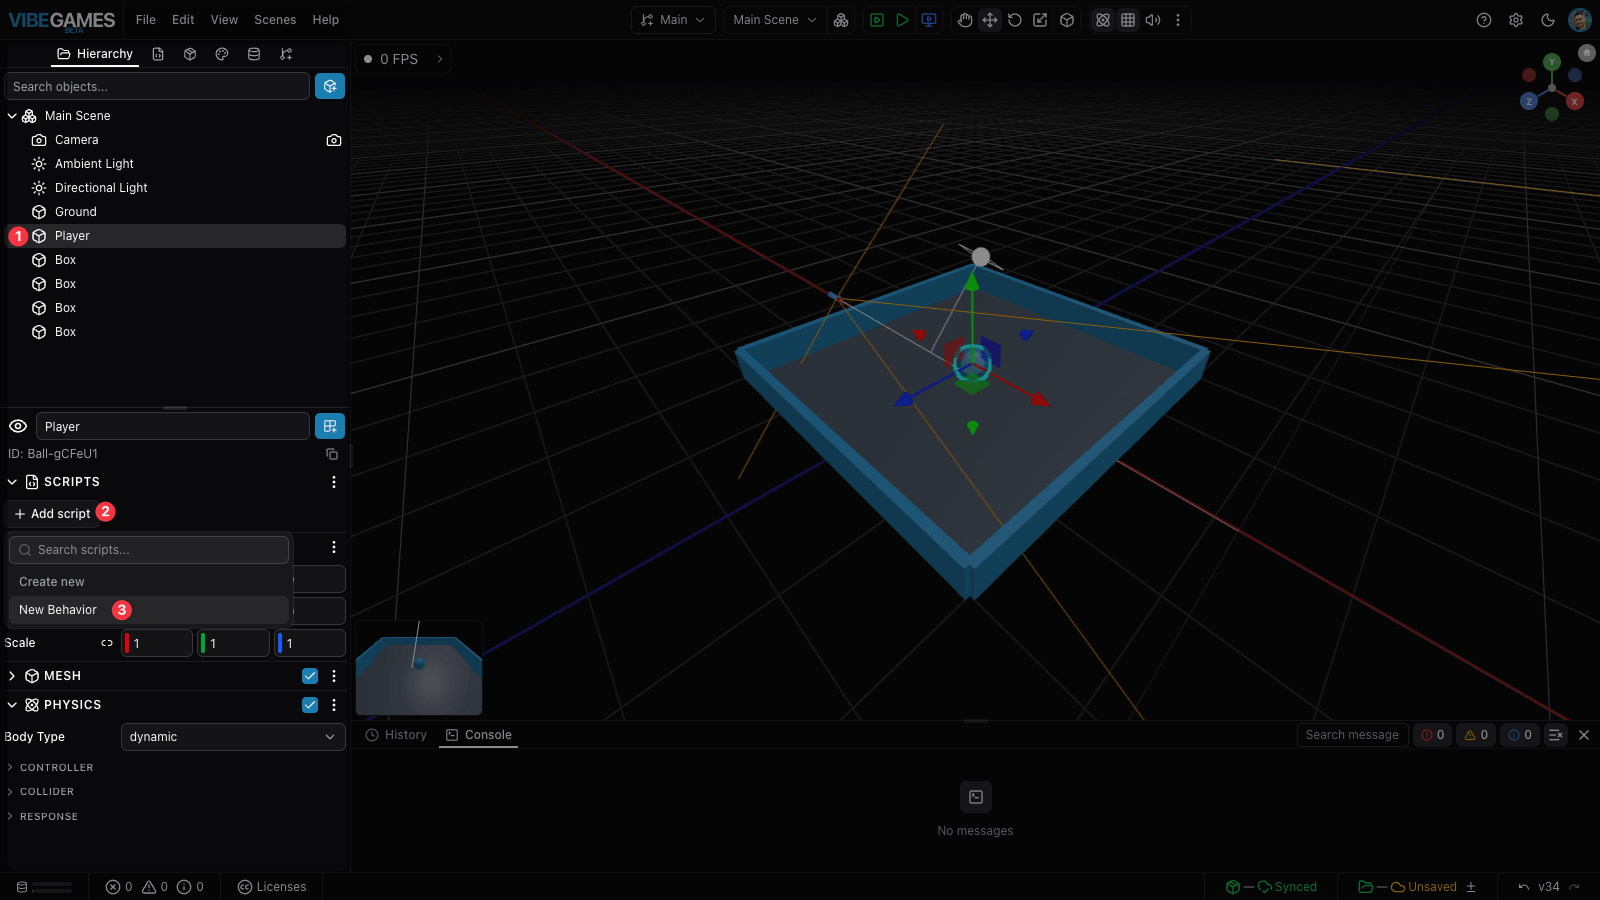
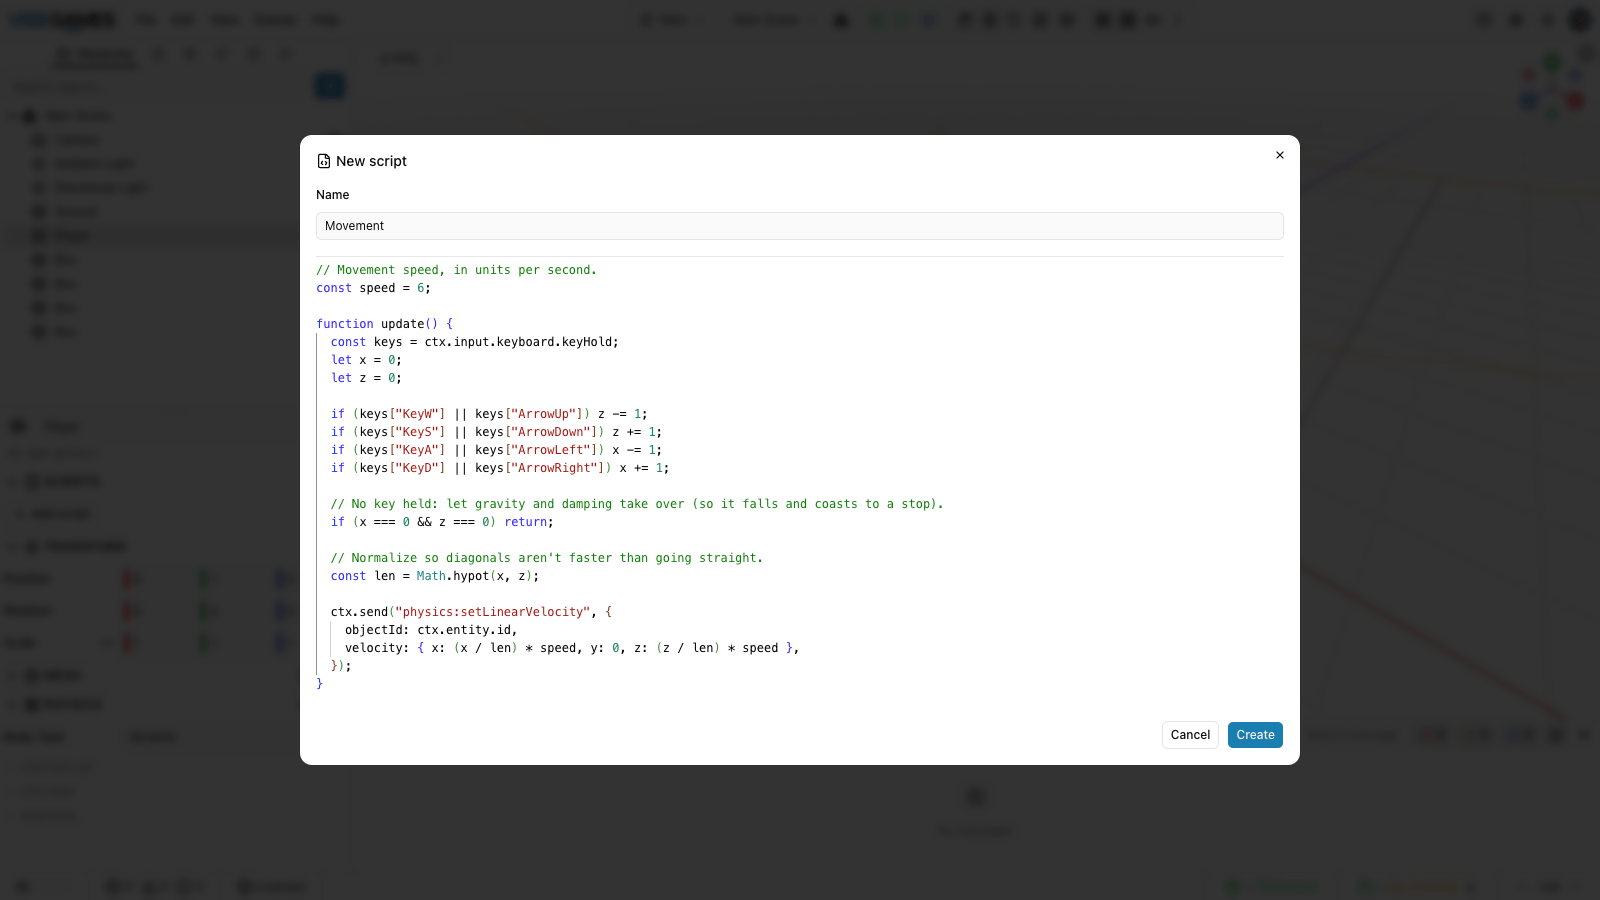
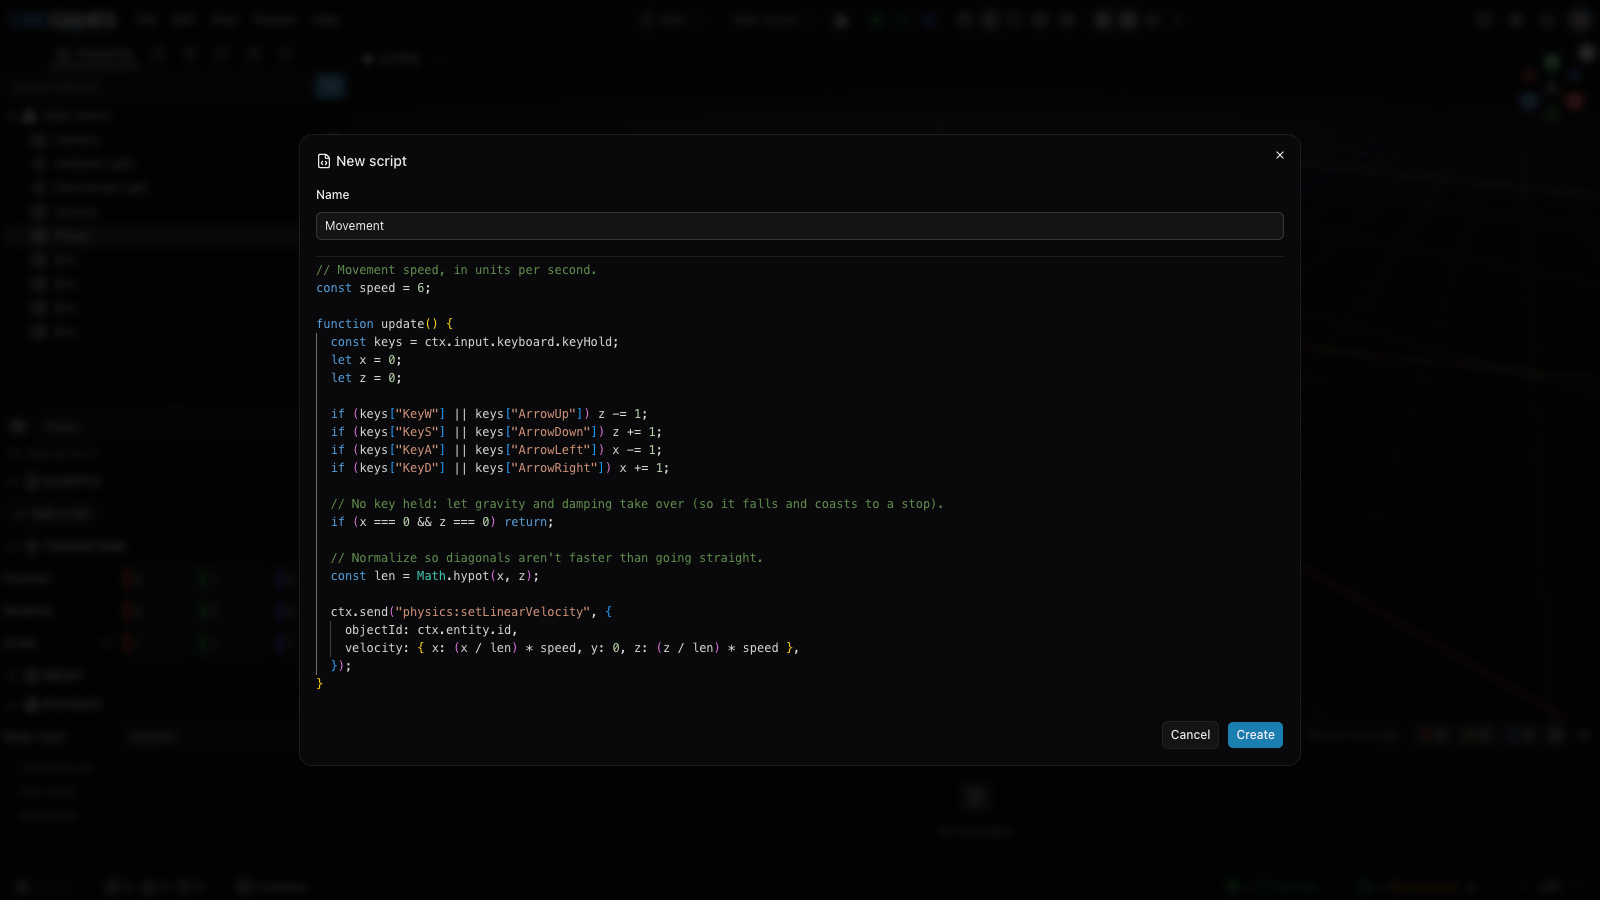
Time for your first script. Select Player, open the Scripts section in its properties, and click Add script → New Behavior. A dialog opens with a Name field and a code editor — everything you need in one place, no jumping to the Scripts tab. Set the Name to Movement and replace the code with:
// Movement speed, in units per second.
const speed = 6;

function update() {
  const keys = ctx.input.keyboard.held;
  let x = 0;
  let z = 0;

  if (keys["KeyW"] || keys["ArrowUp"]) z -= 1;
  if (keys["KeyS"] || keys["ArrowDown"]) z += 1;
  if (keys["KeyA"] || keys["ArrowLeft"]) x -= 1;
  if (keys["KeyD"] || keys["ArrowRight"]) x += 1;

  // No key held: let gravity and damping take over (so it falls and coasts to a stop).
  if (x === 0 && z === 0) return;

  // Normalize so diagonals aren't faster than going straight.
  const len = Math.hypot(x, z);

  ctx.send("physics:setLinearVelocity", {
    objectId: ctx.entity.id,
    velocity: { x: (x / len) * speed, y: 0, z: (z / len) * speed },
  });
}
Click Create. The script is saved and attached to the Player in one go.
The Movement script now shows in the Player's Scripts section. Click it any time to reopen the editor and tweak the code.
Press Play Scene in the toolbar and steer with WASD or the arrow keys. The ball rolls.
What's happening. update() runs every frame. ctx is your global handle to the engine — ctx.input reads the keyboard, ctx.entity is the object this script is on, and ctx.send(...) talks to the physics engine. We set the ball's velocity straight from the keys, so it responds instantly and turns on a dime. When you let go, the script stops steering and damping eases it to a halt.
Add a pickup
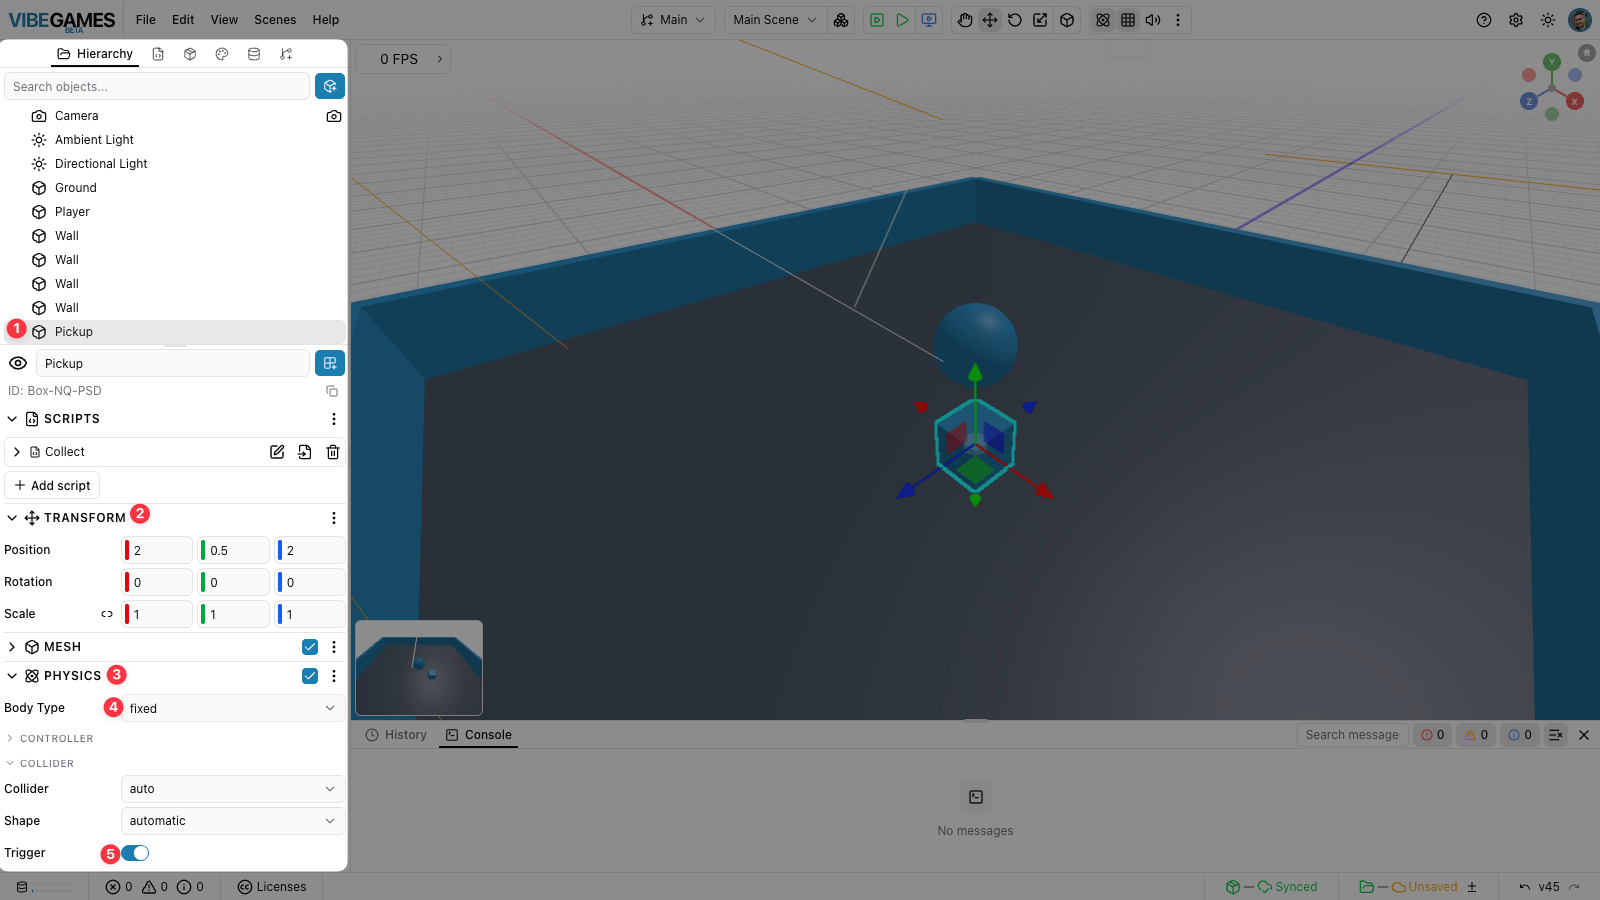
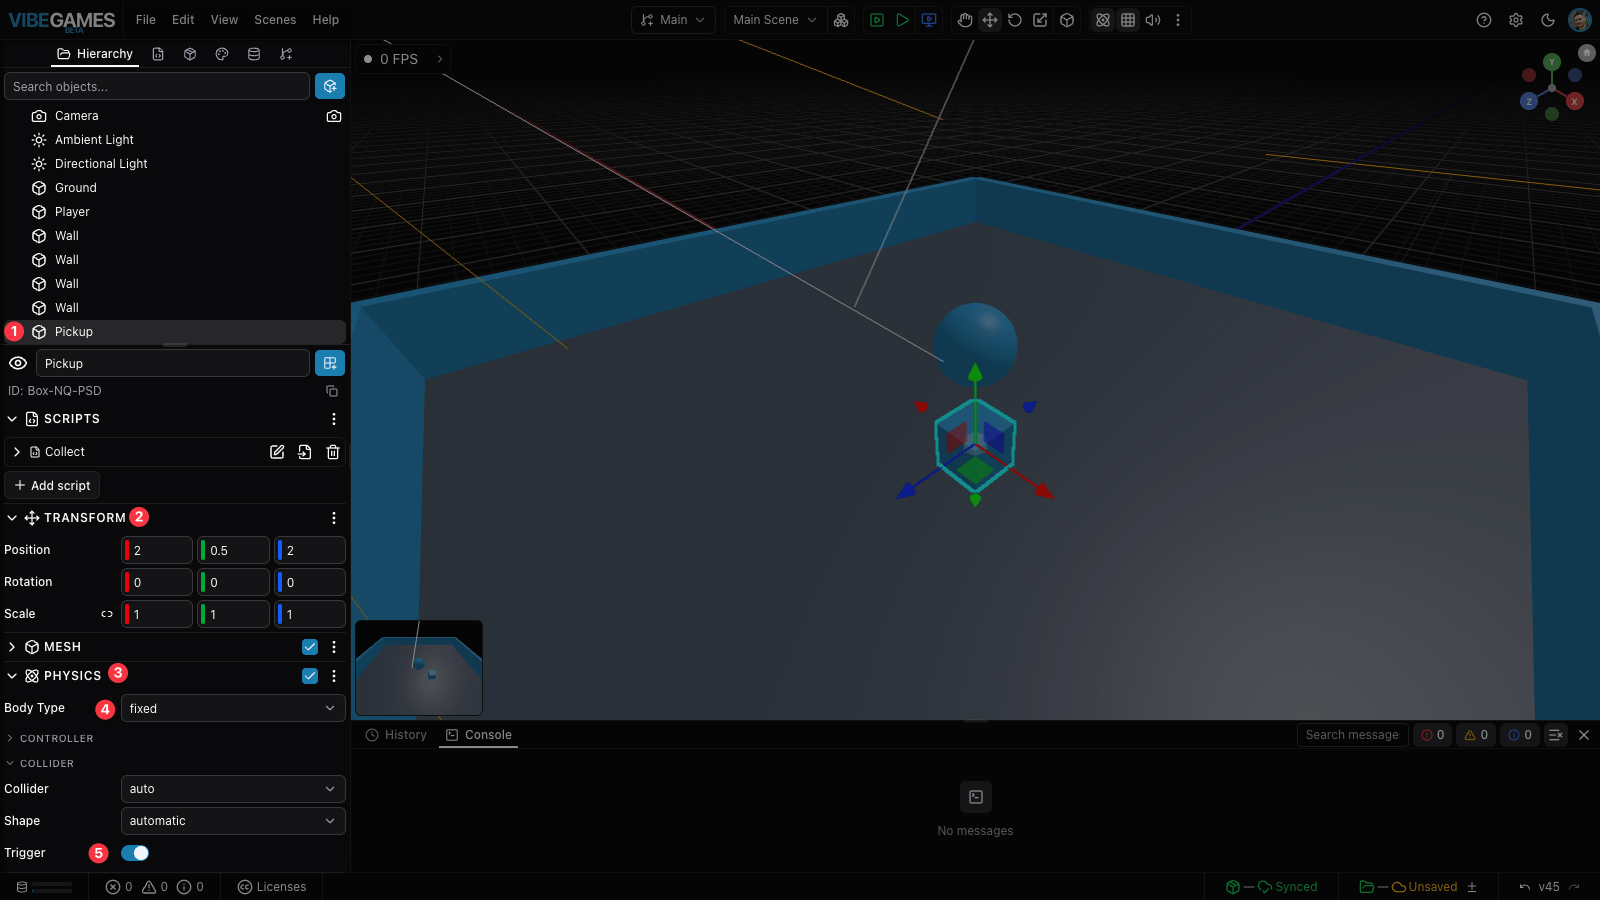
Select Main Scene, open the object palette with the + button, pick Box from the Shapes tab, and rename it Pickup. Then:
- Transform → place it somewhere on the floor, e.g. Position
2, 0.5, 2. - Add Component → Physics, leave Body Type as fixed, then open the Collider section and turn Trigger on.
A trigger doesn't block the ball — it just notices when something enters it.
Collect it and score
Add a script to the pickup (Scripts → Add script → New Behavior), name it Collect, and replace the code with:
function onMessage(message) {
  // Fired when something enters this pickup's trigger.
  if (message.type !== "physics:onTriggerEnter") return;

  // Make sure it's *this* pickup that was entered...
  if (message.payload.source.id !== ctx.entity.id) return;
  // ...and that it was the Player that touched it (not a wall or another pickup).
  if (message.payload.other.name !== "Player") return;

  // Update the score
  const currentScore = ctx.variables.score ?? 0;
  ctx.variables.score = currentScore + 1;

  // Remove Pickup from scene
  ctx.objects.remove(ctx.entity.id);
}
Click Create, then in the Hierarchy right-click the pickup → Duplicate a few times. Select each copy and spread it around the floor — either type a new Position in Transform, or grab it in the viewport and drag (switch to Transform/Move mode first if the move gizmo isn't showing). Each copy already carries the script — no extra setup.
Press Play Scene and roll into one. It disappears.
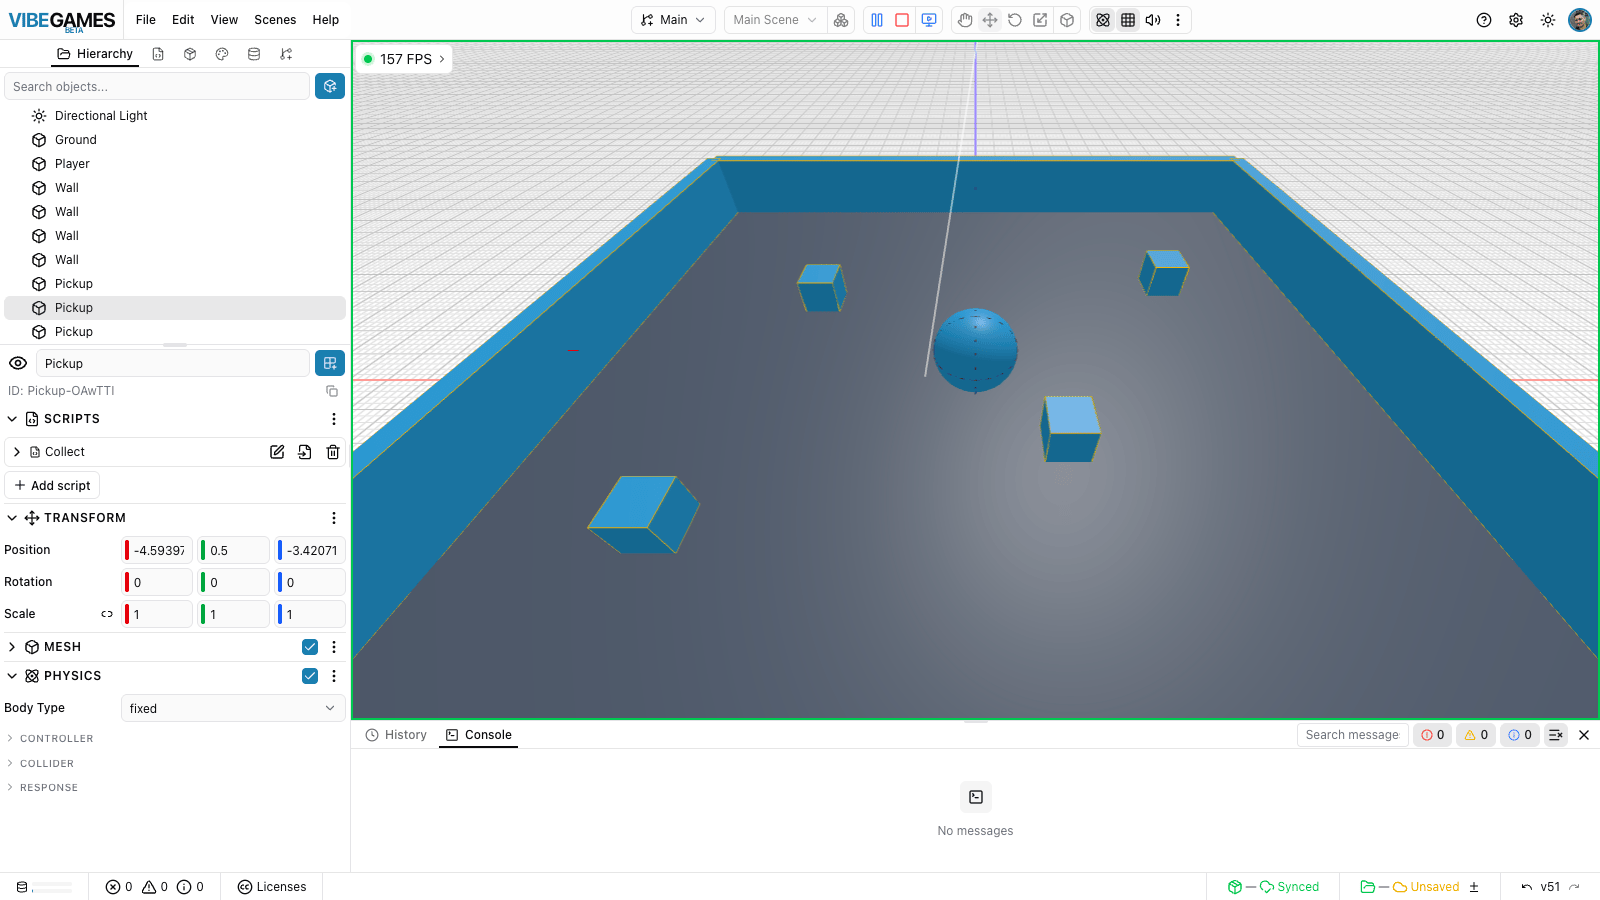
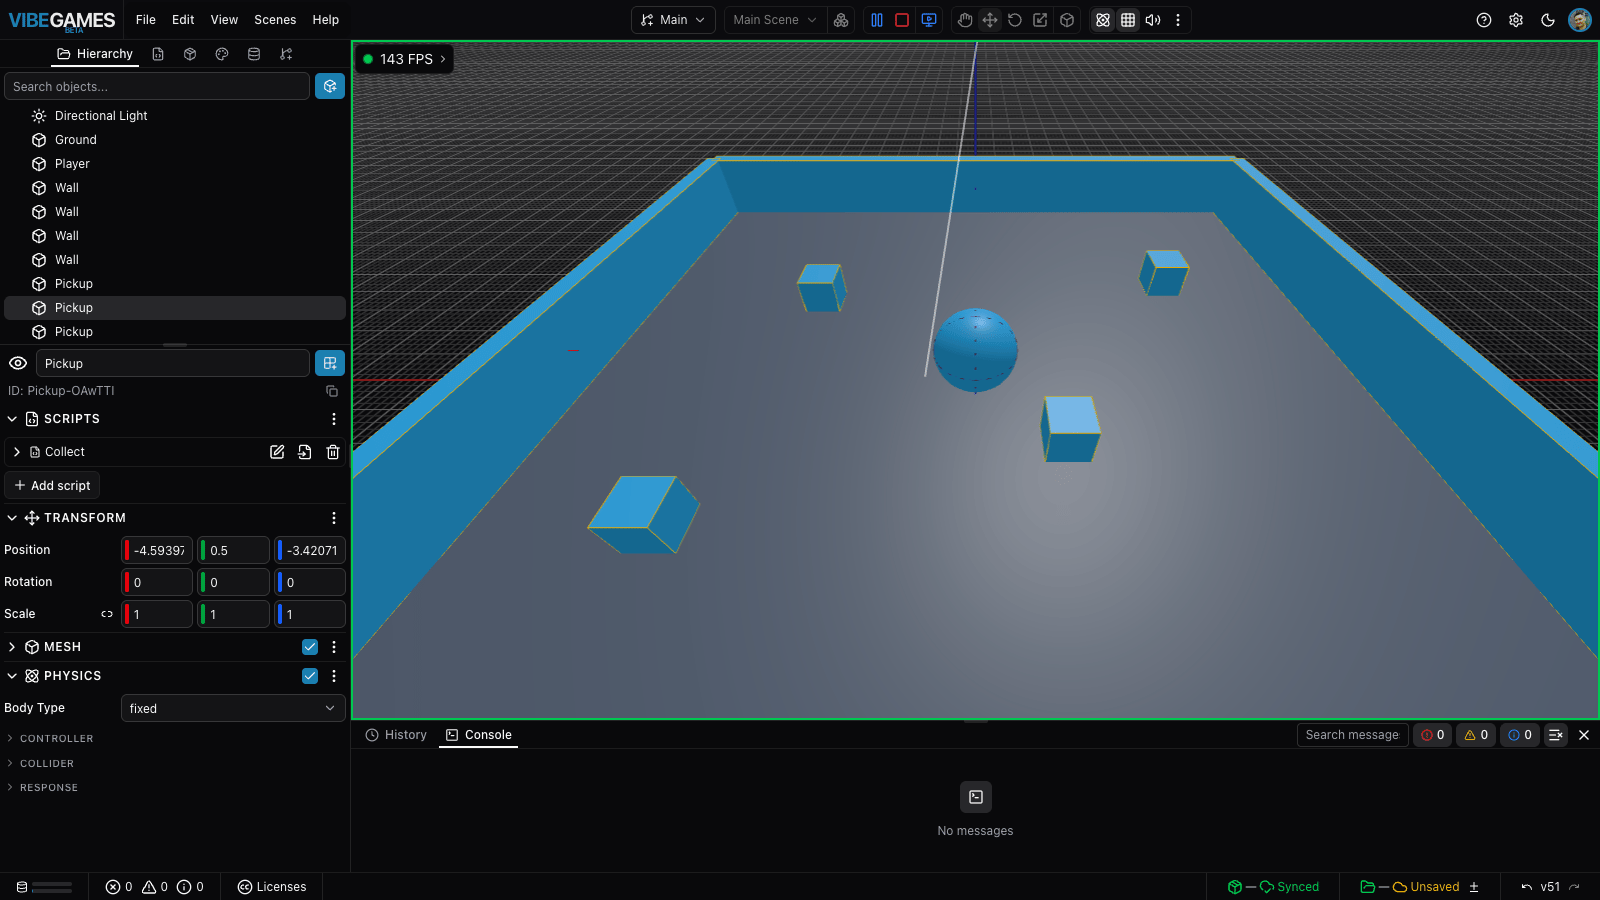
ctx.variables is a shared bag of values every script can read and write. We stash the running total in ctx.variables.score so the HUD (next step) can show it. ctx.objects.remove(...) deletes the pickup from the scene. Tip: while the game is playing, the Variables tab in the left panel shows the live value of score.
Show the score
Select Main Scene, open the object palette with the + button, and choose UI Text (Screen) from the UI tab. Rename it Score Text. In its UI section:
- Set the Text field to
Score: 0and the Font Size to24. - Set the text Color to green — the default white is invisible against the sky, and black is hard to read too.
- In the Alignment control, click center top so the score sits at the top middle of the screen, clear of the editor's FPS badge.
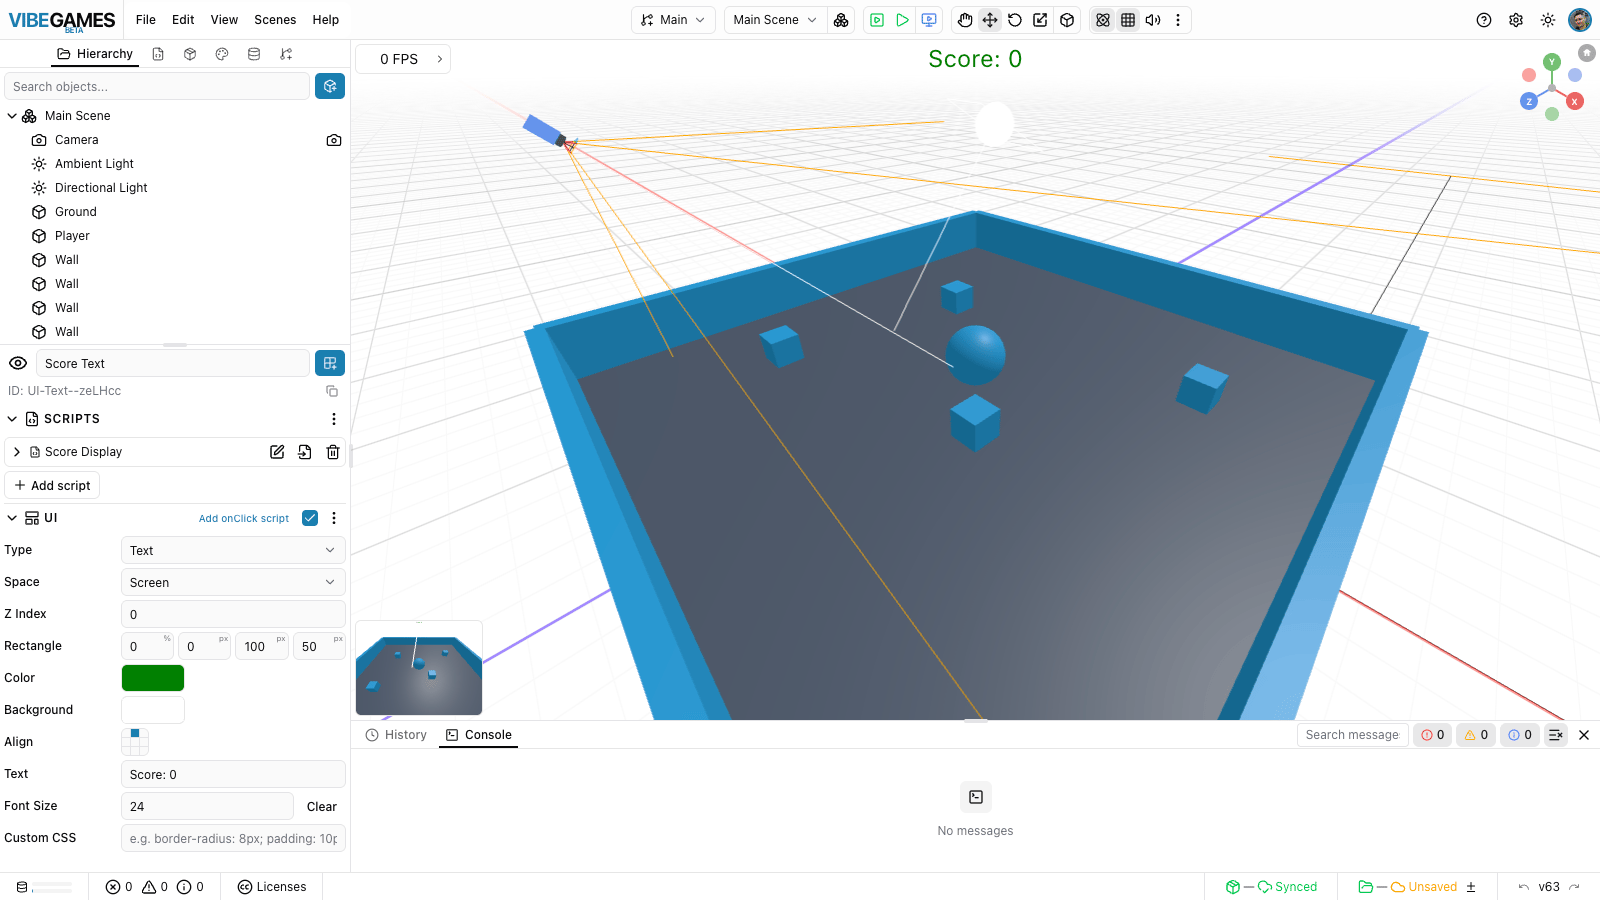
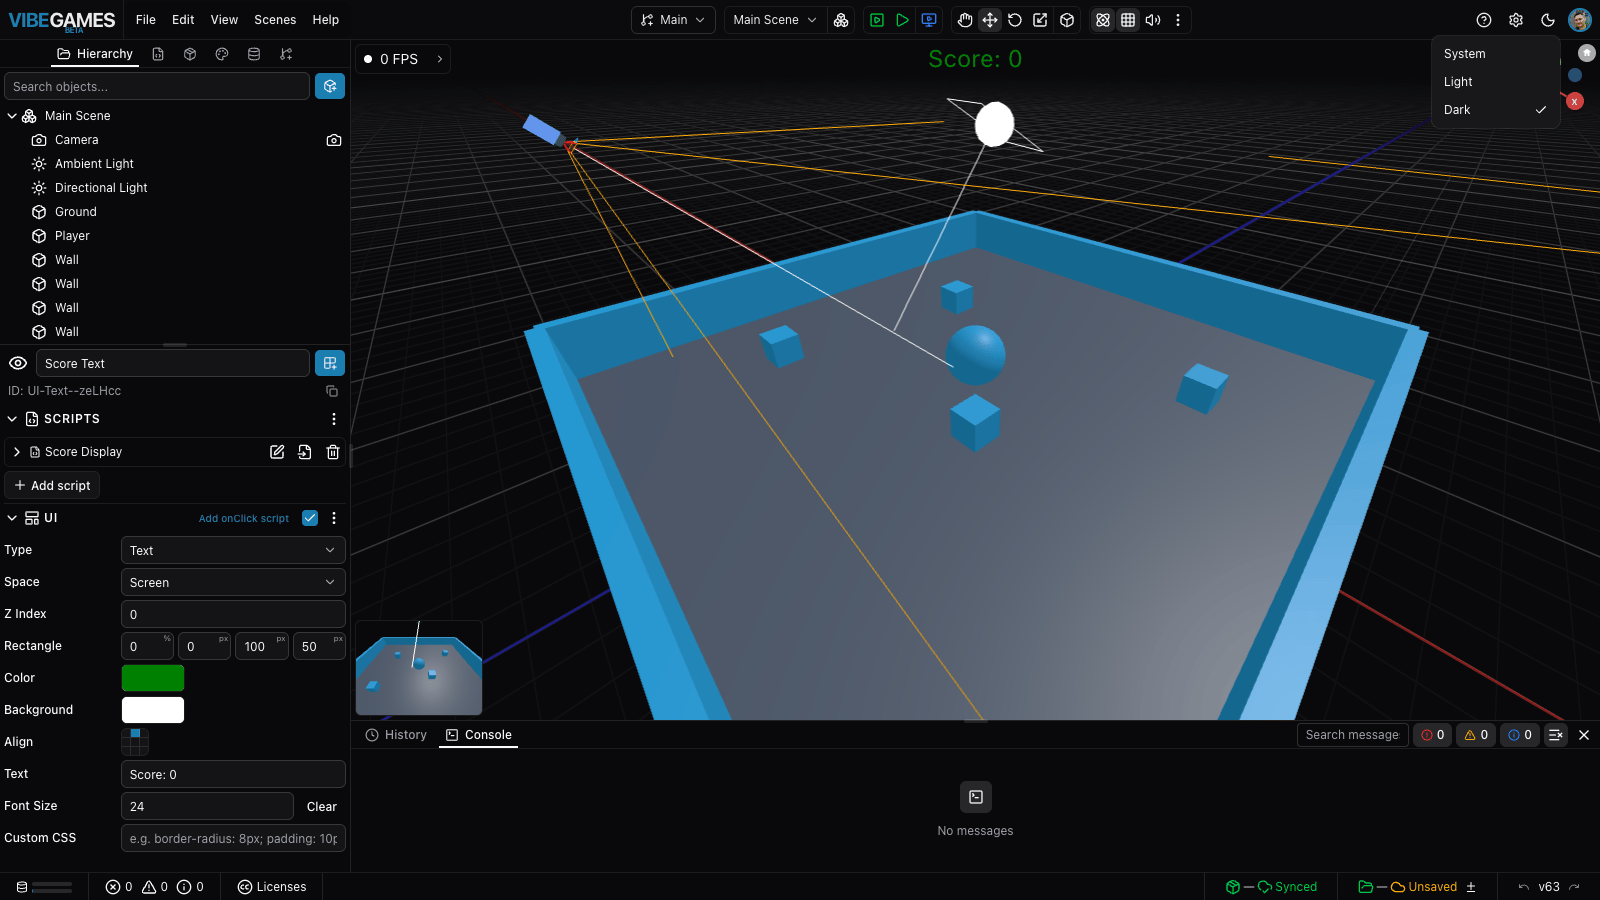
Then give it a script (Scripts → Add script → New Behavior), name it Score Display, and replace the code with:
function update() {
  const score = ctx.variables.score ?? 0;
  ctx.entity.components.ui.text = "Score: " + score;
}
Click Create, then press Play Scene. Collect pickups and watch the number climb.
Give the ball a color (optional)
Right now the ball is the default gray. Make it your own with a material.
- Open the Materials tab (the palette icon at the top of the left panel) and click Add material. Pick any preset to start from — or Generate one with AI. It's added to the list and selected.
- With the material selected, edit its Color (and Metallic / Roughness if you like) in the properties below.
- Select Player, open its Mesh section, and set Material to the one you just made.
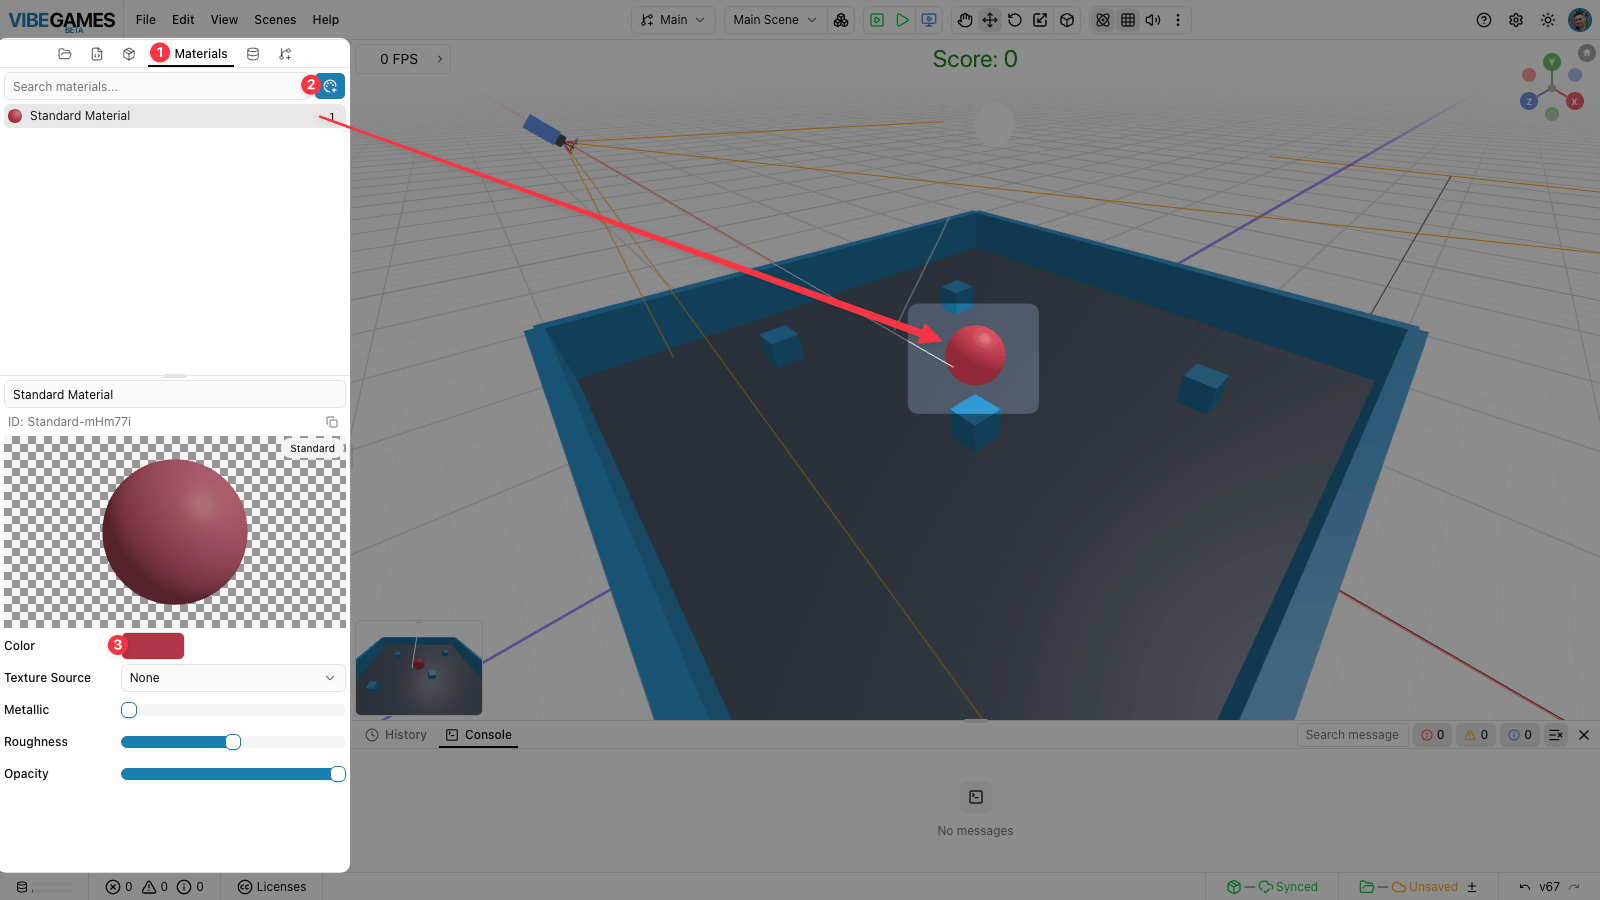
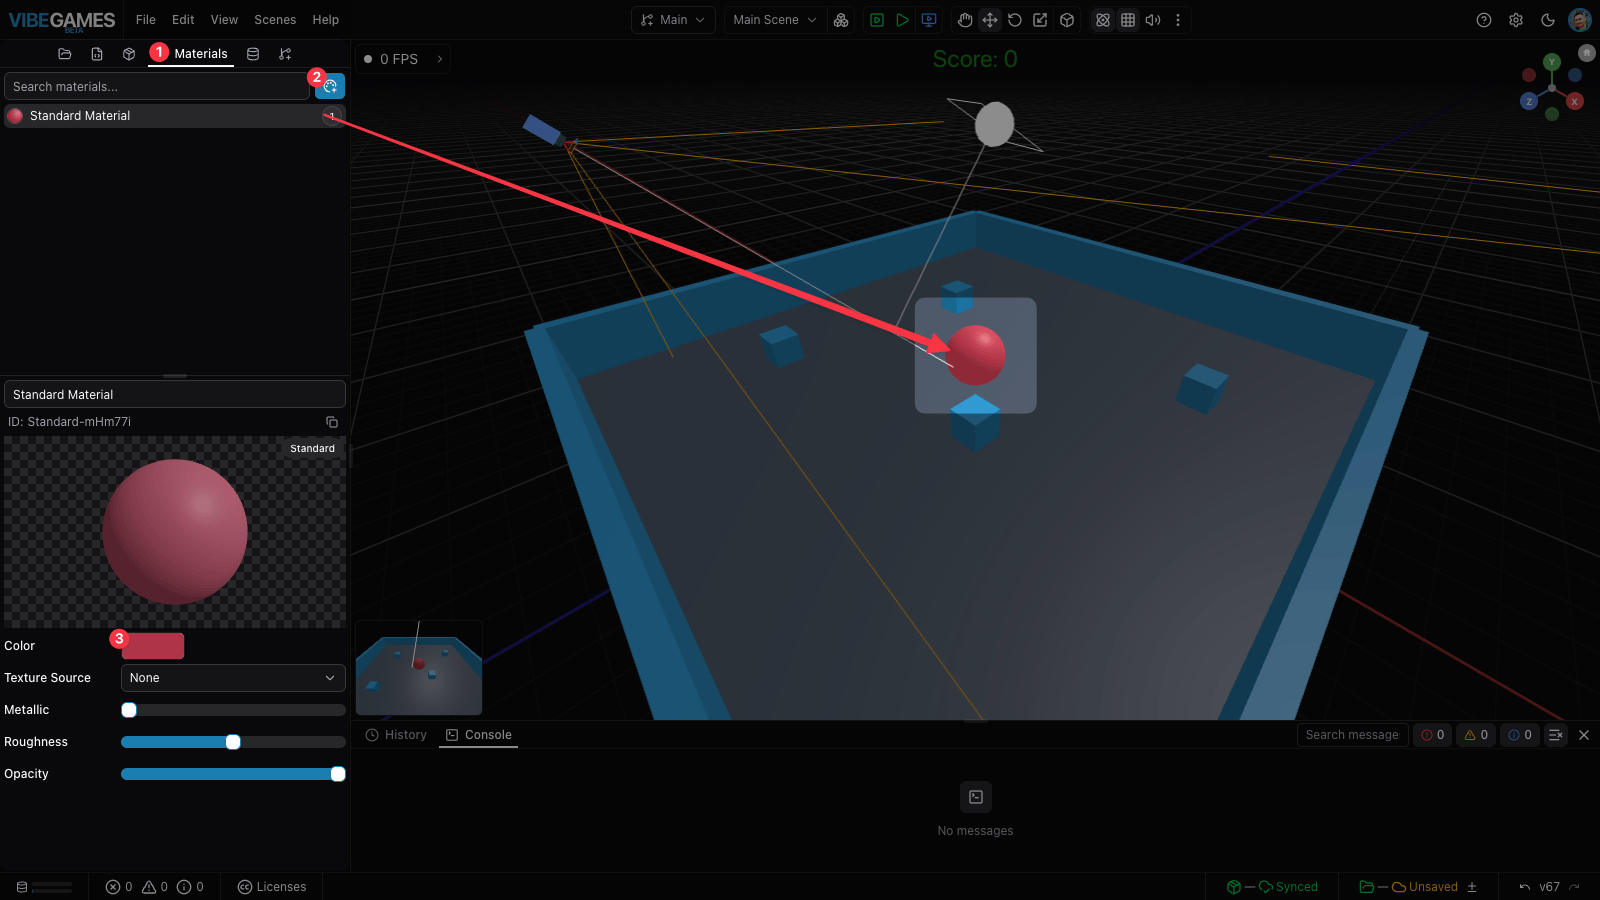
Just want a quick tint, not a reusable material? Select Player, open Mesh, and set the Color directly — it shows when Material is None. A material is worth it when you want the same look on several objects, or AI-generated textures.
Publish and share
Your game is done. Ship it.
- File → Save to store your project.
- File → Publish Game.
- Copy the published URL.
- Send it to anyone — it plays right in the browser, no sign-in needed.
Where to go next
You just used scenes, objects, components, scripts, physics, triggers, and variables. Put names to all of it: